
A musty laundry room that hides lost socks and sprinkles lint everywhere isn’t just an eyesore—it steals time, raises stress, and can even create safety risks. Our Laundry Room Cleaning Guide lays out step-by-step tips and tricks to fix those headaches fast. You’ll cut mold and odors, head off dryer-lint hazards, and set up a simple routine that saves money and energy. Wonder why towels never smell fresh or why the dryer drags on forever? Then this practical guide is for you.
Here’s the hook: when your laundry space is clean and optimized, every wash cycle runs faster, safer, and cheaper. With a few targeted habits and the right order of tasks, you can move from chaos to calm in a single afternoon—and keep it that way with a short weekly routine.
Why a Clean Laundry Room Matters: Safety, Health, and Savings
Most laundry rooms are compact and constantly in use. As a result, dust, lint, and moisture build up quickly—and three problems follow: safety hazards, bad odors, and higher utility bills. Lint, being highly combustible, accumulates behind machines and inside vents. Moisture fuels mold that stains, smells, and degrades indoor air. Inefficient habits—overheated water, partial loads—quietly drive costs up month after month. The good news? A focused cleaning plan knocks out all three at once.
Safety comes first. Fire-safety organizations cite lint buildup as a leading factor in clothes dryer fires. The lint filter should be cleared before every load, but that step alone isn’t sufficient. The vent duct and the space behind the dryer must be cleaned on a regular basis. For health, moisture control is crucial. Mold can begin within 24–48 hours on damp surfaces, so leaving the washer door open after use and wiping gaskets keeps growth in check. For savings, remember that heating water consumes a large share of laundry energy; switch most loads to cold and choose high-efficiency cycles. Paired with the right detergent, performance won’t suffer.
Quick facts set the stage for what comes next:
| Topic | What to Know | Source |
|---|---|---|
| Dryer safety | Lint buildup is a common cause of dryer fires; clean the vent and area behind the unit at least once a year. | NFPA |
| Mold growth | Mold can begin growing within 24–48 hours on damp materials; fix moisture and improve airflow. | EPA |
| Washer efficiency | ENERGY STAR washers use about 25% less energy and 33% less water than regular models. | ENERGY STAR |
| Detergent safety | Detergent packets can harm children and pets; store out of sight and reach in closed containers. | CPSC |
With those basics in mind, you can prioritize. Focus on lint and ventilation for safety, rein in moisture for health, and streamline habits to cut costs. Keep reading to see exactly how to declutter, what to clean first, and how to keep your laundry room fresh and functional all year.
Prep and Declutter: What to Remove Before You Clean
Begin with a quick reset. Unplug appliances if you need to move them, and shut off the gas supply to gas dryers before shifting anything. If moving machines feels unsafe or you can’t reach the connections, stop and call a qualified technician. Next, open a window or run the exhaust fan. Good ventilation manages moisture and clears chemical odors while you work.
Pull out everything that doesn’t belong in the laundry area: cardboard boxes (they attract moisture), empty detergent containers, and random storage blocking airflow. Sort the rest into four piles—keep, relocate, recycle, discard. Keep only laundry essentials: detergent, boosters, stain removers, dryer balls, mesh bags, lint brushes, and a small first-aid kit. Relocate household tools, seasonal gear, and bulky items to a closet or garage. Recycle empty plastic jugs and boxes. Toss expired products and leaky bottles.
Create a temporary staging zone near the door or in a hallway. Wipe product containers so residue doesn’t transfer back onto clean shelves. To prevent future spills, decant liquids into sturdy, labeled containers with child-safe caps. Using detergent pods? Store them in opaque, locked bins, high and out of reach, as safety authorities recommend.
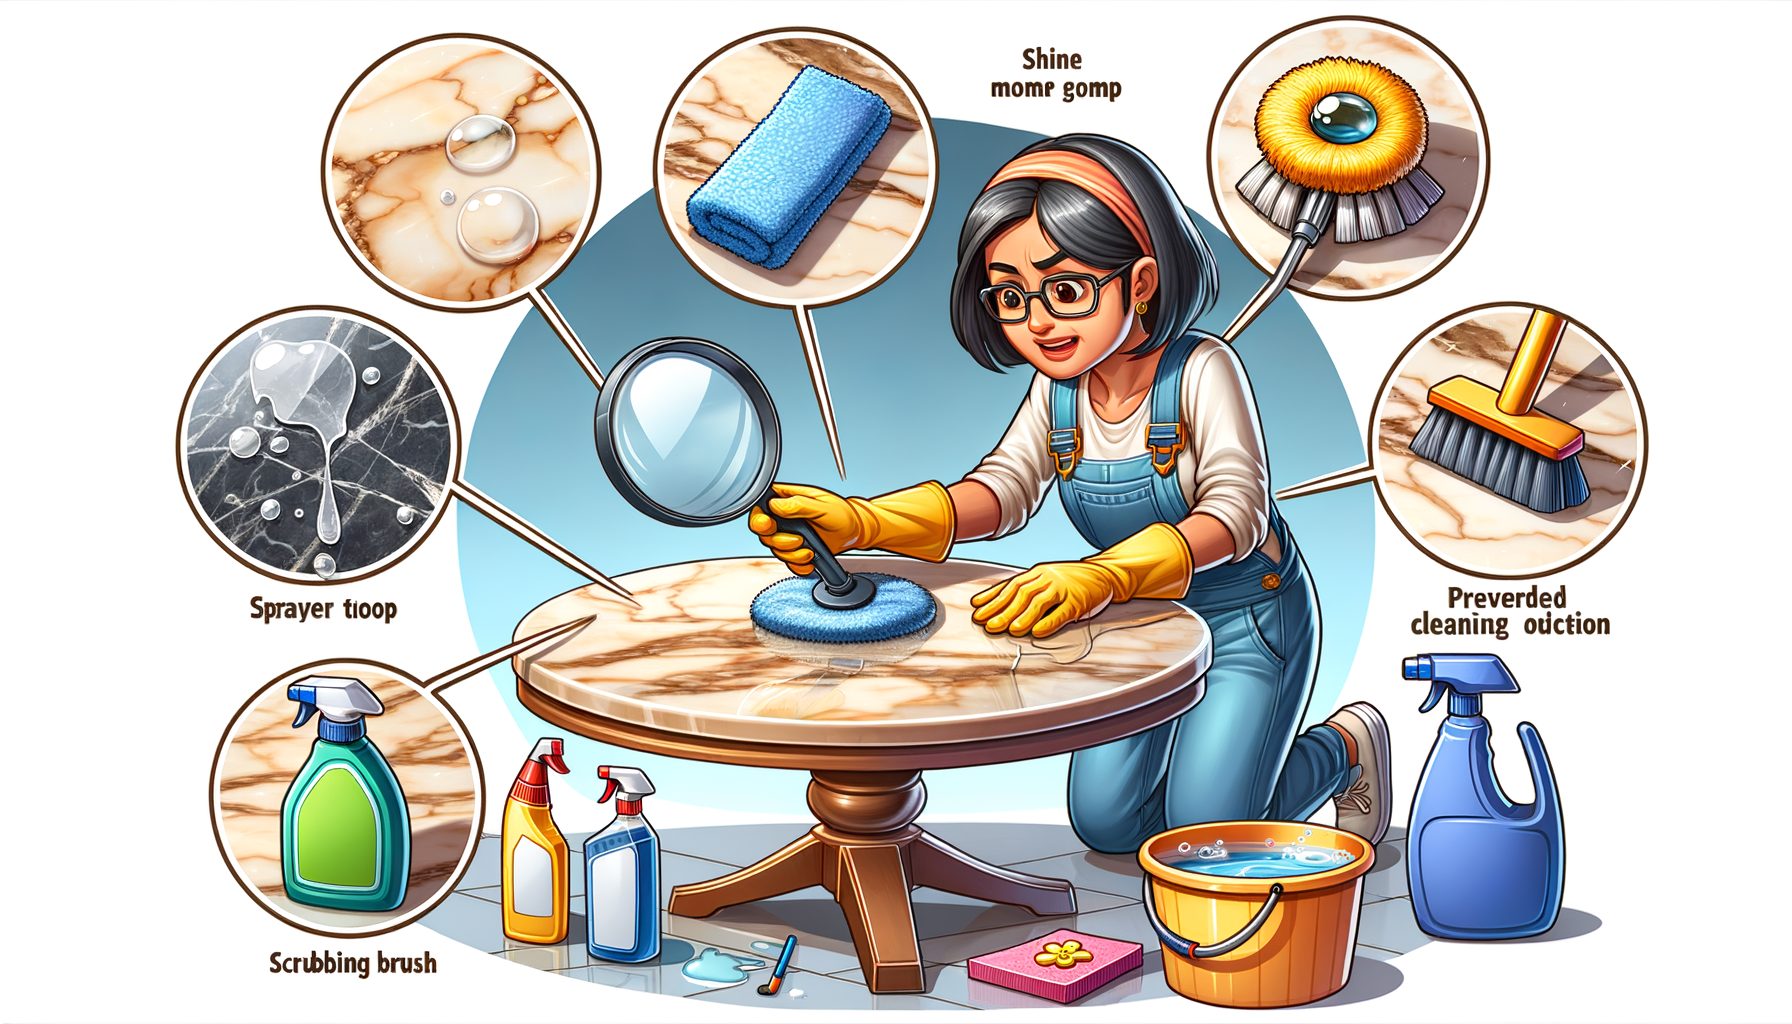
Gather supplies before the deep clean so momentum isn’t lost. You’ll want microfiber cloths, a long flexible vent brush, a vacuum with a crevice tool, a bucket, rubber gloves, an old toothbrush, a soft brush, paper towels, a non-scratch scrub pad, and a gentle all-purpose cleaner. For mineral buildup or soap scum, keep white vinegar and baking soda handy. Bleach can be used on non-porous surfaces—cautiously. Well, here it is: follow label directions, ventilate, never mix with ammonia or vinegar, and test in an inconspicuous spot. Many messes respond to mild soap or a vinegar solution, which often suffices without harsh fumes.
Clear the floor, then slide machines a few centimeters from the wall if connections allow. That small gap lets you reach lint bunnies, lost socks, and dust that choke vents. With prep and decluttering finished, the room is ready for a thorough deep clean.
Deep Cleaning: Washer, Dryer, Surfaces, and Air
Begin with the washer. Run a cleaning cycle or a hot cycle with no laundry. Many machines have a “tub clean” setting—use it monthly. If not, run an empty hot cycle with a manufacturer-recommended washer cleaner. Wipe the door seal (gasket) thoroughly; lint, hair, and detergent film hide there. Pull back the folds and clean with a cloth and mild cleaner. Stubborn odors? A second hot cycle helps. Leave the door and detergent drawer open to air-dry. For top-loaders, scrub the rim and agitator where residue accumulates, and check the filter or coin trap if your model includes one.
Next, tackle the dryer. Unplug it. The lint filter should be emptied every load, but today go deeper. Wash the filter with warm, soapy water if you use fabric softener—residue can block airflow. Vacuum inside the lint trap with a crevice attachment. Gently pull the dryer forward and vacuum behind and under it. If accessible, disconnect the vent duct and brush out lint with a long, flexible brush. Reattach the duct firmly to prevent leaks. A rigid metal vent is best for safety and airflow; plastic or foil should be upgraded. Power—and gas, if applicable—should be reconnected only when you’re sure seals are tight and safe. Otherwise, schedule a professional dryer-vent service annually.
Now, the surfaces. Dust high to low: shelves, cabinet tops, light fixtures, and machine tops. Wipe with a damp microfiber cloth and all-purpose cleaner. Degrease sticky detergent drips on bottles and shelves. Treat counter and sink stains with a non-scratch pad. For tile or vinyl floors, vacuum edges and corners, then mop with a gentle cleaner. On walls, spot-clean scuffs and splash marks; moisture-resistant paint simplifies this, but even standard paint can be cleaned carefully with a damp cloth.
Airflow matters. If you have a vent or exhaust fan, vacuum the cover and wipe it down; washable filters should be cleaned or replaced. Good ventilation dries the room faster, cuts mildew risk, and reduces winter static. No exterior vent? Open a window, run a dehumidifier, or use a small fan during and after laundry sessions. Finally, swap burned-out bulbs for bright, efficient LEDs. Better lighting reveals stains, guides cleaning, and makes small rooms feel bigger and safer.
Maintenance Routines and Smart Storage
Once the deep clean is done, a simple routine keeps things fresh with minimal effort. Daily or per-load: empty the lint filter, sort laundry into labeled baskets (lights, darks, delicates, towels), and leave the washer door ajar at least 30 minutes to dry the interior. Wipe spills as they happen. Weekly: vacuum floors and baseboards, wipe the washer gasket, clean the detergent drawer, and sweep under and behind machines with a long duster. Monthly: run a washer-cleaning cycle, wash the dryer lint screen with soap and water, and inspect the vent connection for kinks or crushed sections. Seasonally: pull appliances forward (if safe) to vacuum and mop underneath, verify a clear vent duct, and review supplies for expired or nearly empty products.
Smarter storage makes routines effortless. Use vertical space—install two shelves: one for daily-use items (detergent, stain spray, dryer balls) and a higher shelf for refills and bulk supplies. Add a peg rail or hooks for mesh bags, lint brushes, and a drying rack. Magnetic caddies on the side of appliances corral scoops and small tools. Clear, labeled bins prevent overbuying and let you track inventory at a glance. Choose child-safe containers with locking lids for any chemicals, and keep them high and out of reach.
Working in a tight room? Choose foldable, multi-purpose gear. A slim rolling cart slips between machines and keeps essentials within reach. A wall-mounted, retractable drying rack saves floor space. Over-door organizers hold clothespins, sewing supplies, and lint rollers. If the space doubles as a cleaning closet, hang mops and brooms vertically to free the floor and keep moisture off bases. Place a heat-resistant tray on the dryer to catch drips and offer a temporary folding station. A small mat at the washer catches splashes and protects floors.
Eco- and budget-friendly habits seal the deal. Wash most loads in cold—modern detergents excel without hot water. Dose correctly; too much soap leaves residue and odors. Swap in wool dryer balls to shorten dry times and reduce static without disposable sheets. If humidity lingers, a compact dehumidifier keeps surfaces dry and discourages mold. What’s interesting too: these small choices save energy, reduce waste, and keep the laundry room cleaner with less effort.
FAQ: Laundry Room Cleaning
How often should I deep clean the washer and dryer? Run a washer cleaning cycle monthly and wipe the gasket weekly. The lint filter should be cleared every load, the screen washed monthly, and the vent duct brushed or vacuumed at least once a year—or more often if dry times increase.
What removes musty smells from towels and the washer? Occasionally wash towels in hot water and dry them fully. For the washer, run a hot cleaning cycle and wipe the gasket. Leave the door open after use to air-dry. Avoid excess detergent; residues trap odors.
Is it safe to use bleach in the laundry room? Yes—on non-porous surfaces and only as directed. Ventilate, wear gloves, and never mix bleach with ammonia, vinegar, or other cleaners. Follow labels and rinse afterward.
How do I know if my dryer vent needs cleaning? Watch for longer dry times, a hot dryer exterior, a burning smell, or lint around the vent outlet. If any appear, stop using the dryer and clean or service the vent before the next load.
What is the best way to store detergents safely? Use original or clearly labeled child-resistant containers, stored out of sight and reach. Keep pods in opaque, locking bins. Wipe containers to prevent sticky residue and secure lids after each use.
Conclusion
Now you know why a clean laundry room matters, how to prepare and declutter, the steps for deep cleaning washer, dryer, and surfaces, plus the simple routines and smart storage that keep everything fresh. Fire risk drops, odors and mold are curbed, and efficiency goes up—saving money. Prioritize safety (lint and ventilation), then moisture control (airflow and gasket care), and finally everyday habits (sorting, wiping, right detergent dosing) to turn a stress zone into a smooth-running station.
Your move. Pick one action today: clean the lint filter and vacuum the lint trap; run a washer-cleaning cycle; or declutter expired products and set up a “daily-use” shelf. If the dryer vent hasn’t been cleaned in 12 months, put it on the calendar or book a pro this week. Snap a quick before photo, do a 30-minute reset, then take an after shot—you’ll see and feel the difference right away.
Want a printable checklist? Copy the routines from this guide into your notes app or planner and set monthly reminders. Share the steps with everyone at home so the workload stays light and consistent. For deeper learning, consult trusted resources on mold prevention and dryer safety from organizations like the EPA and NFPA, and review efficient washing practices from ENERGY STAR. Small, steady steps will keep the laundry room clean all year—no marathon scrubbing required.
Ready to simplify laundry day? Start with one shelf, one cycle, or one vent check right now. Your future self will thank you—so will your clothes, towels, and utility bills. What will you tackle first today?
Sources
National Fire Protection Association (NFPA) – Clothes Dryer Safety
U.S. Environmental Protection Agency (EPA) – Mold
U.S. Consumer Product Safety Commission (CPSC) – Laundry Packets Safety
Centers for Disease Control and Prevention (CDC) – Cleaning and Disinfecting Your Home