
If you’ve ever spent a whole day cleaning only to feel like your home doesn’t stay clean, you’re not alone. The core problem is rarely effort—it’s strategy. Here’s a Home Cleaning Guide with a step-by-step plan that saves time, reduces stress, and delivers a consistently sparkling home. You’ll learn the right order to work (so you don’t re-dirty what you’ve already cleaned), how to deep clean kitchens and bathrooms without burning out, which products work best (including safe DIY options), and how to set a realistic schedule you can actually follow. Stick with this guide and you’ll spend less time cleaning while enjoying a healthier, fresher space every day.
Step 1: Declutter and Prep Fast—Your 20-Minute Reset
Most homes don’t look messy because of dirt—they look messy because of stuff. Begin every clean with a short, focused declutter so your cleaning products can touch surfaces efficiently. Set a timer for 20 minutes. Start at the entrance and work clockwise through the main living space. Use three containers: Keep (stays here), Relocate (goes to another room), and Out (donate/recycle/trash). If an item doesn’t serve a purpose or spark daily joy, move it along. For clothes or accessories you’re unsure about, try the “quarantine box”: store items for 30 days; if you don’t reach for them, donate.
Prepping tools next saves steps later. Create a simple cleaning caddy: an all-purpose cleaner, glass cleaner or diluted vinegar solution, a disinfectant (for high-touch spots), microfiber cloths (color-code for kitchen, bath, and general), a scrub brush or old toothbrush, sponges, trash liners, and gloves. Park a laundry basket by the door for towels/cloths as they get dirty. If you own a vacuum with attachments, stage it near the main hallway. Put on upbeat music, open windows for ventilation if weather allows, and set your phone to Do Not Disturb. The goal here is momentum.
Finally, stage each room. Pull back curtains/blinds to expose dust. Clear counters enough to spray and wipe edge-to-edge. Lift floor items (shoes, toys, pet bowls) onto a chair for now. If your home has multiple levels, start upstairs so dust falls down as you work. That prep phase prevents backtracking and can cut total cleaning time by 25% or more. You’re not aiming for perfection—just clearing the runway so surface cleaning, disinfecting, and floor care can fly.
Step 2: The Right Order—Dust to Disinfect, Top to Bottom, Dry to Wet
Cleaning in the right order is the single biggest time-saver. Always work top to bottom and dry to wet. Let physics help you. Start with light fixtures, shelves, and frames; end with floors. Begin dry to avoid making dust into muddy streaks. Use a microfiber duster or slightly damp microfiber cloth (damp reduces airborne dust) to tackle ceiling corners, fan blades, door tops, blinds, and shelves. Move clockwise and finish by dry-dusting electronics and vents. For vents and tight corners, a soft brush or vacuum brush attachment makes a big difference.
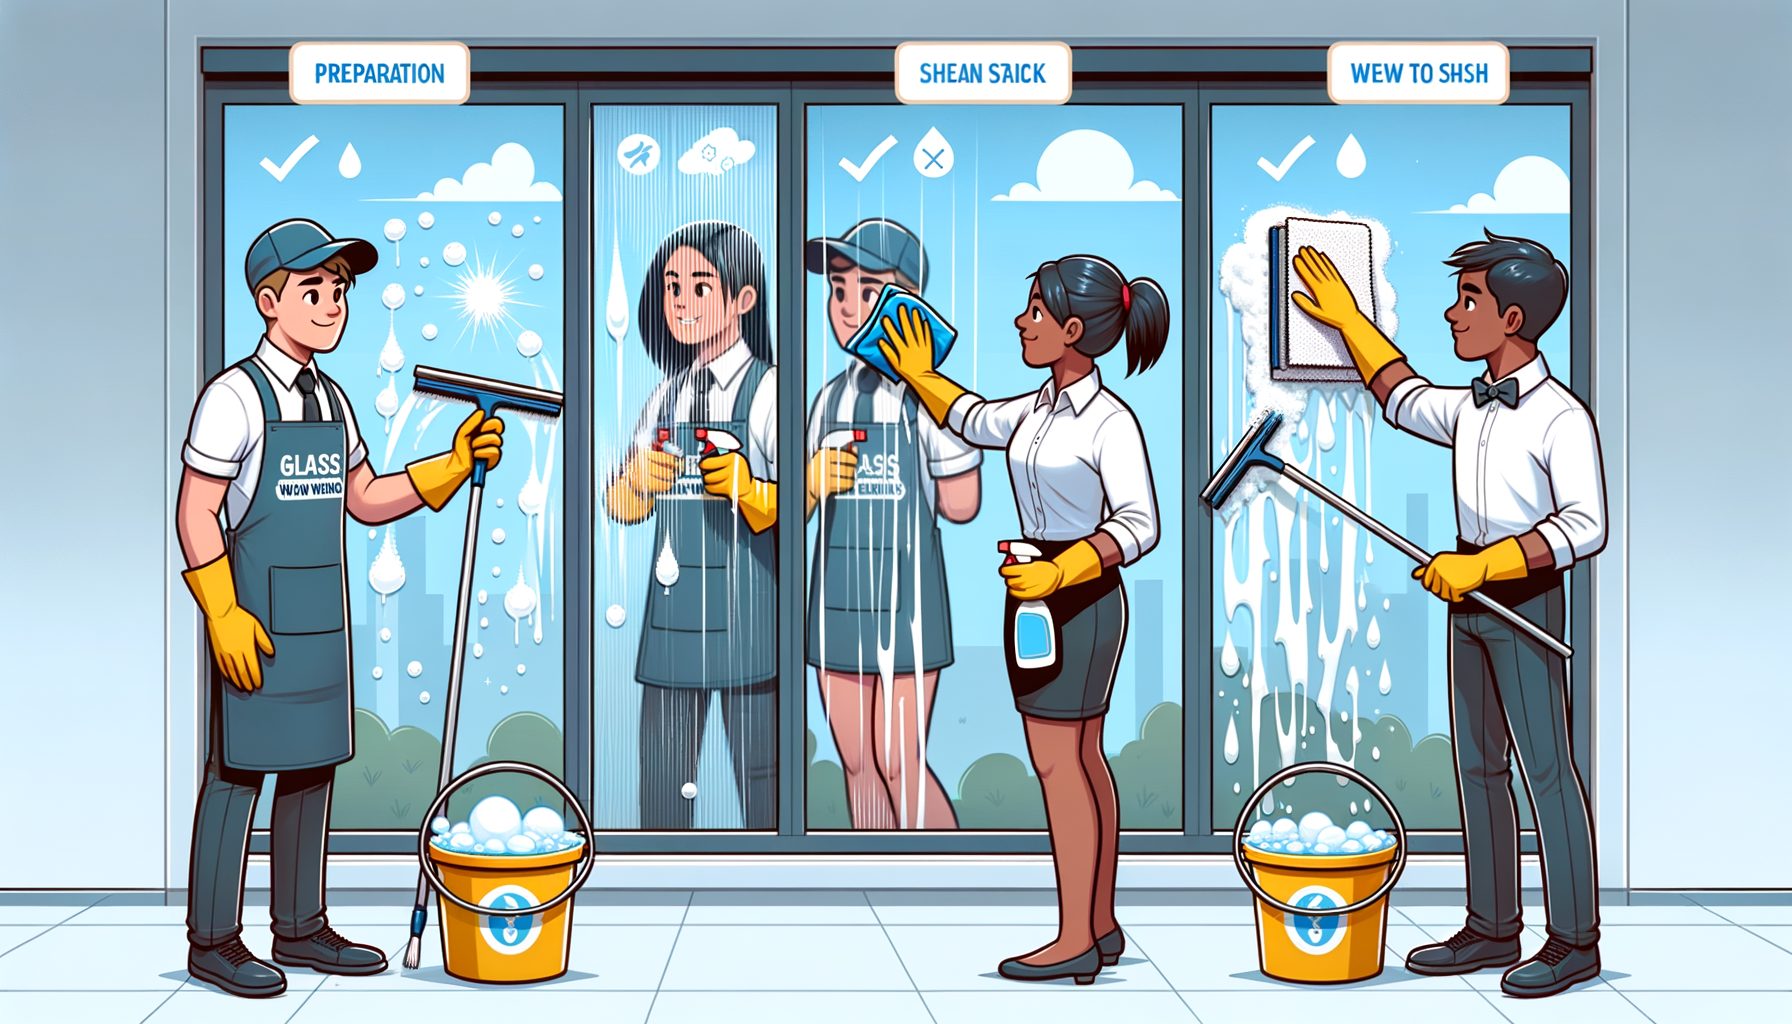
Next, clean and shine surfaces. Spray an all-purpose cleaner on counters, tables, and cabinet faces. Let dwell for 30–60 seconds; chemistry needs time to work. Wipe in overlapping S-patterns from clean to dirty areas, flipping your cloth sides to avoid smearing. For glass and mirrors, use a lint-free cloth and minimal product—more isn’t better. If you see streaks, switch to a fresh dry section of cloth. For sticky spots, re-spray and wait; re-scrubbing costs more time than a second’s patience.
Now hit high-touch hotspots with a true disinfectant, especially if someone at home has been ill. Targets include door handles, light switches, remote controls, faucet handles, toilet flush levers, and fridge handles. Disinfectants require contact time; check the label for the exact number of minutes. Many household products need 2–10 minutes wet on the surface to work. For guidance on what is effective against viruses and bacteria, you can consult the EPA’s List N for disinfectants (https://www.epa.gov/pesticide-registration/list-n-disinfectants-use-against-sars-cov-2) and the CDC’s cleaning and disinfection recommendations (https://www.cdc.gov/flu/prevent/cleaning-disinfection.htm). Never mix bleach with ammonia or acidic cleaners like vinegar—this can produce dangerous gases. Ventilate and wear gloves if using strong chemicals, and always test products on a small, hidden area.
Finish the round with quick resets: fluff cushions, fold throws, and put decor back intentionally (less is more). Empty small trash bins and replace liners. By following this dust–clean–disinfect sequence across the home, you avoid re-contaminating clean surfaces and keep your momentum uninterrupted.
Step 3: Kitchen and Bathroom Deep Clean That Actually Lasts
Kitchens and bathrooms drive the “feels clean” factor. Tackle them using a clear sequence to prevent burnout. In the kitchen, start with the sink. Sprinkle baking soda, add a few drops of dish soap, and scrub; rinse with hot water. For stainless steel, follow the grain and finish with a microfiber buff. Load the dishwasher or soak grates and pans in hot, soapy water to loosen grease while you work elsewhere. Degrease the stovetop and backsplash with a degreaser or diluted dish soap; let dwell 2–3 minutes before wiping. For the microwave, heat a bowl of water with sliced lemon for 2 minutes, then wipe the softened splatters in seconds. Clear the fridge door gaskets and handles; spot-check shelves with a cloth dipped in warm soapy water. Wipe exterior appliances last, top to bottom, to avoid drips.
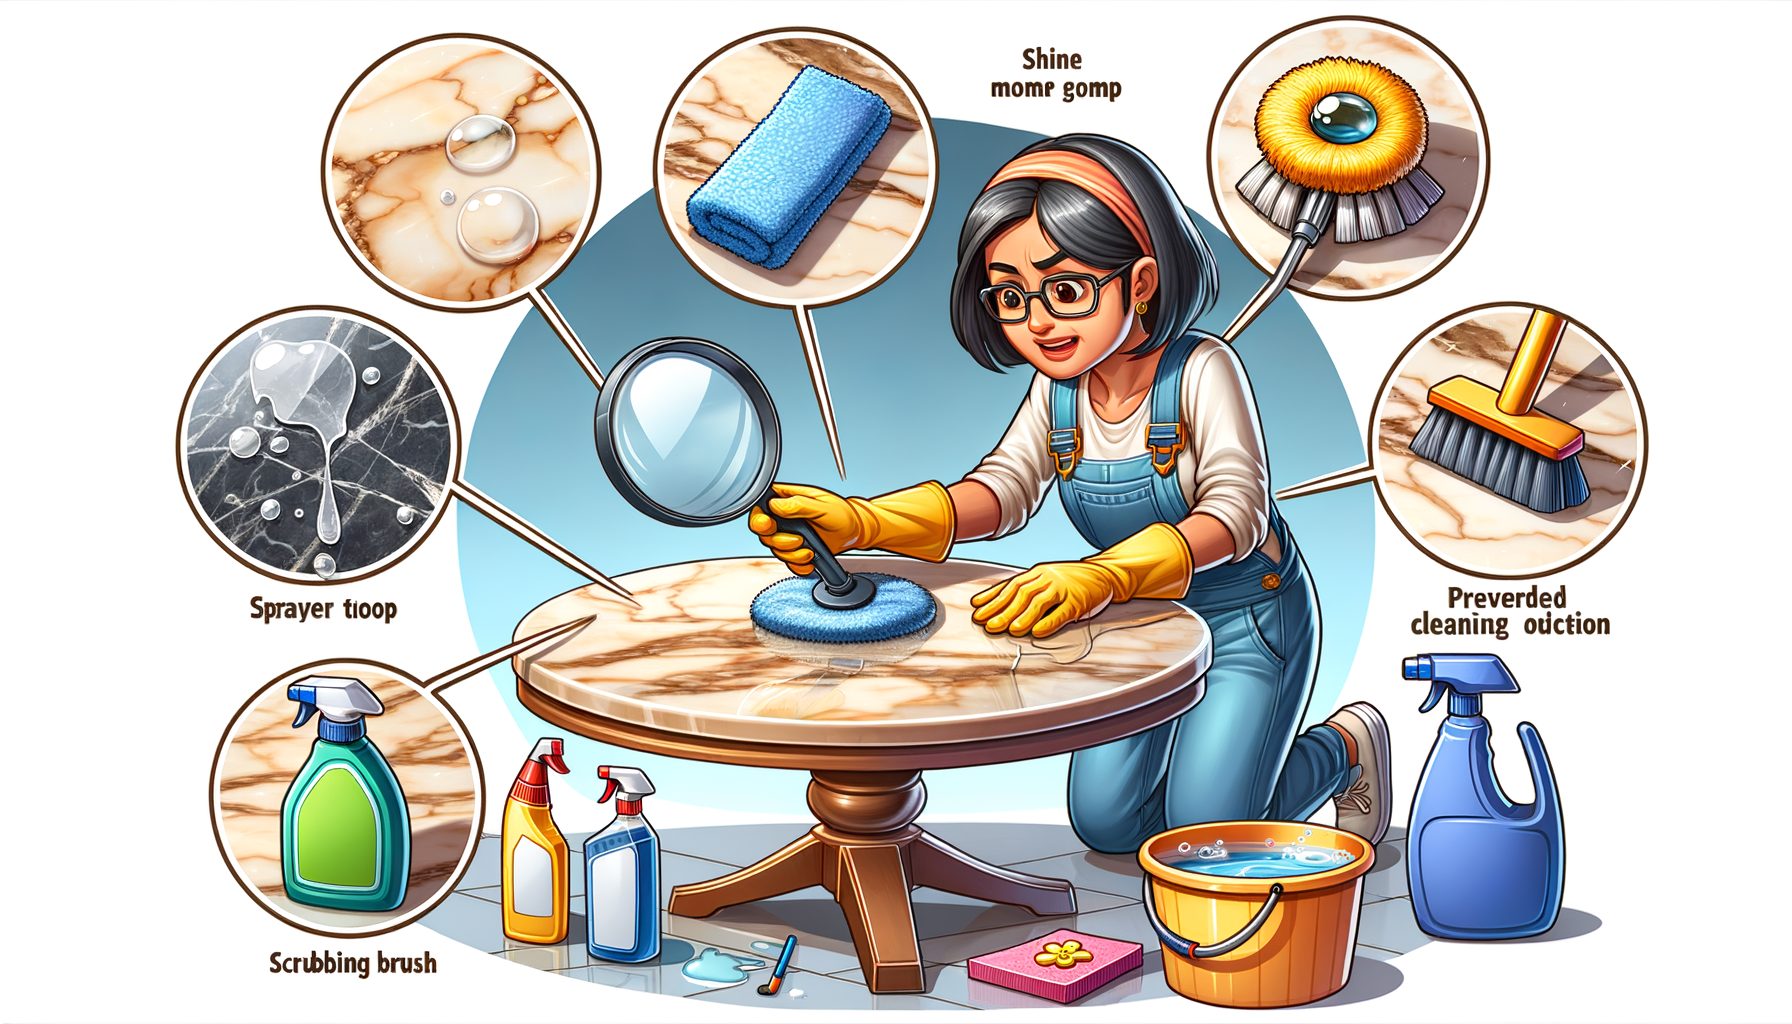
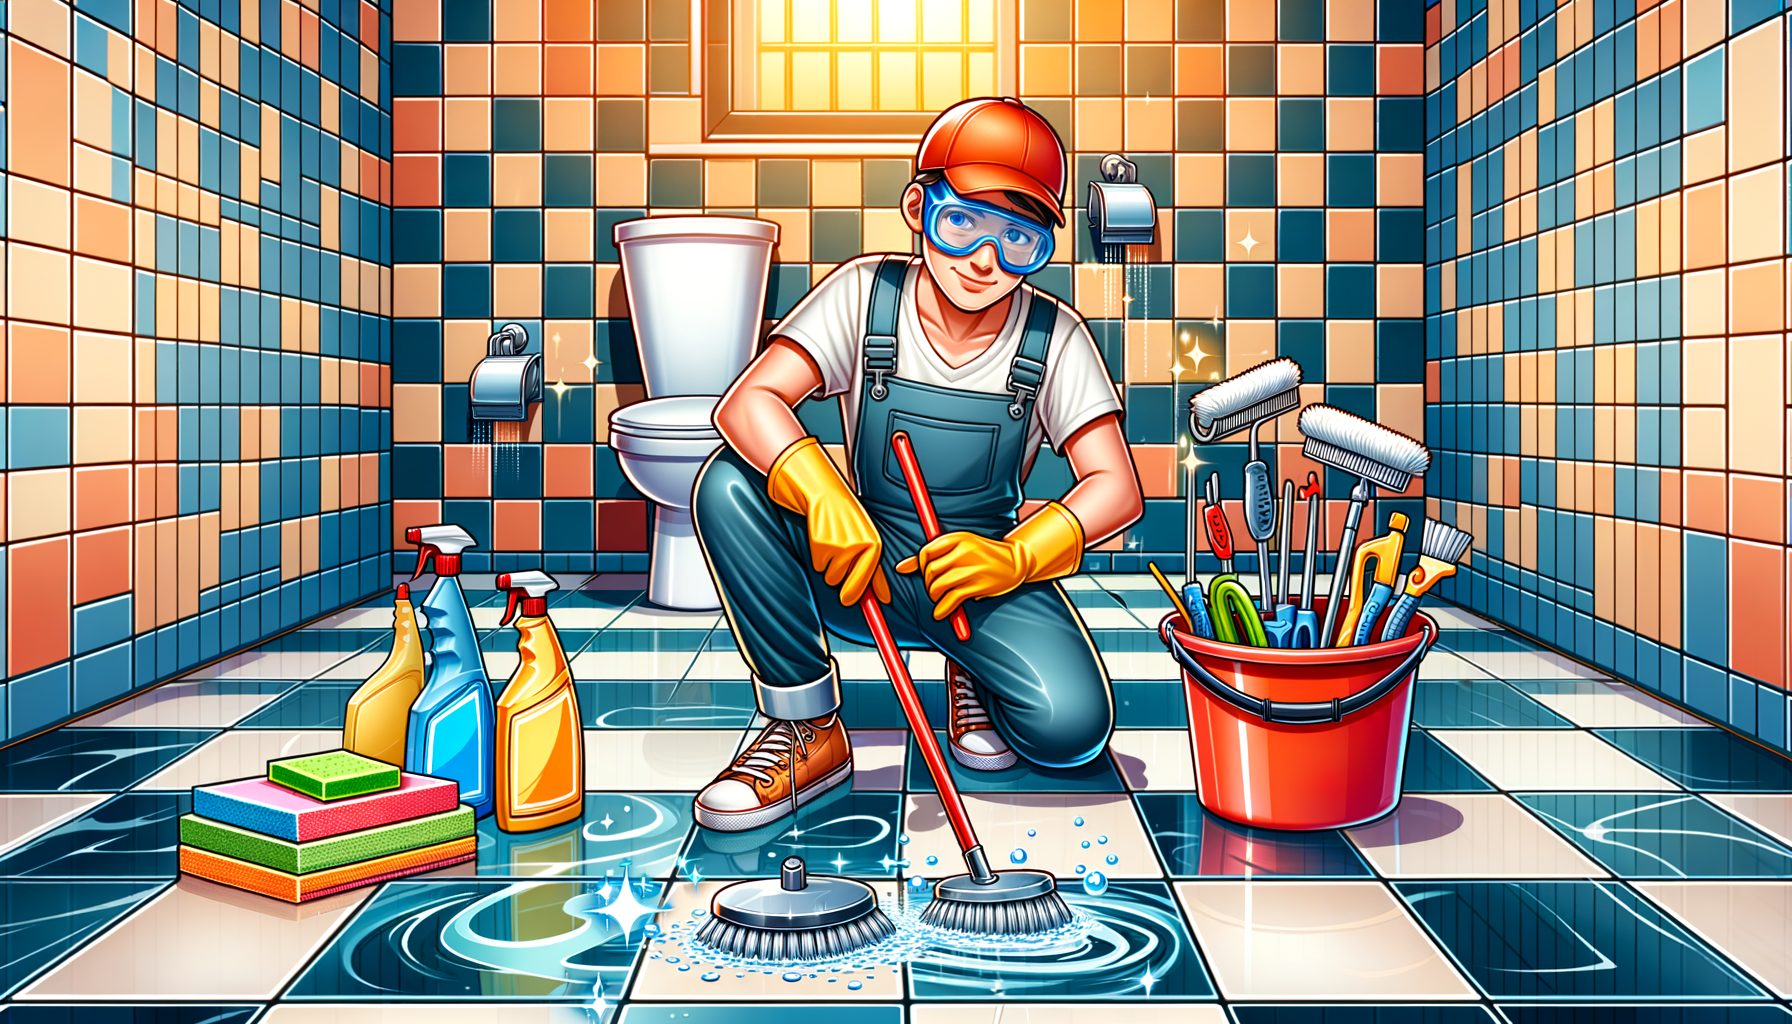
In bathrooms, start with ventilation—switch on the fan or open a window. Sprinkle baking soda in sinks and tubs, spray with a bathroom cleaner, and let it dwell while you address mirrors and glass. For soap scum and mineral deposits, citric acid or a 50/50 vinegar–water mix works well on many tiles and glass; don’t use vinegar on natural stone (marble, travertine). For grout, apply a paste of baking soda and water, then scrub with a toothbrush and rinse. To clean the toilet efficiently: add cleaner under the rim and let it sit; meanwhile, disinfect the exterior (handle, tank top, seat hinges), then scrub the bowl and flush. For shower curtains and liners, toss them in the wash with towels on warm; hang to dry to prevent mildew.
Disinfect high-touch bathroom spots last to ensure correct contact time. Replace towels with clean ones, squeegee shower walls to slow future build-up, and leave the fan running for at least 15 minutes to reduce humidity. A weekly squeegee habit can cut deep-clean time by half. Small, consistent steps—like spraying a daily shower cleaner or quickly wiping the sink after brushing—extend the “just-cleaned” look for days.
Step 4: Floors, Fabrics, and Allergen Control for Air You Can Feel
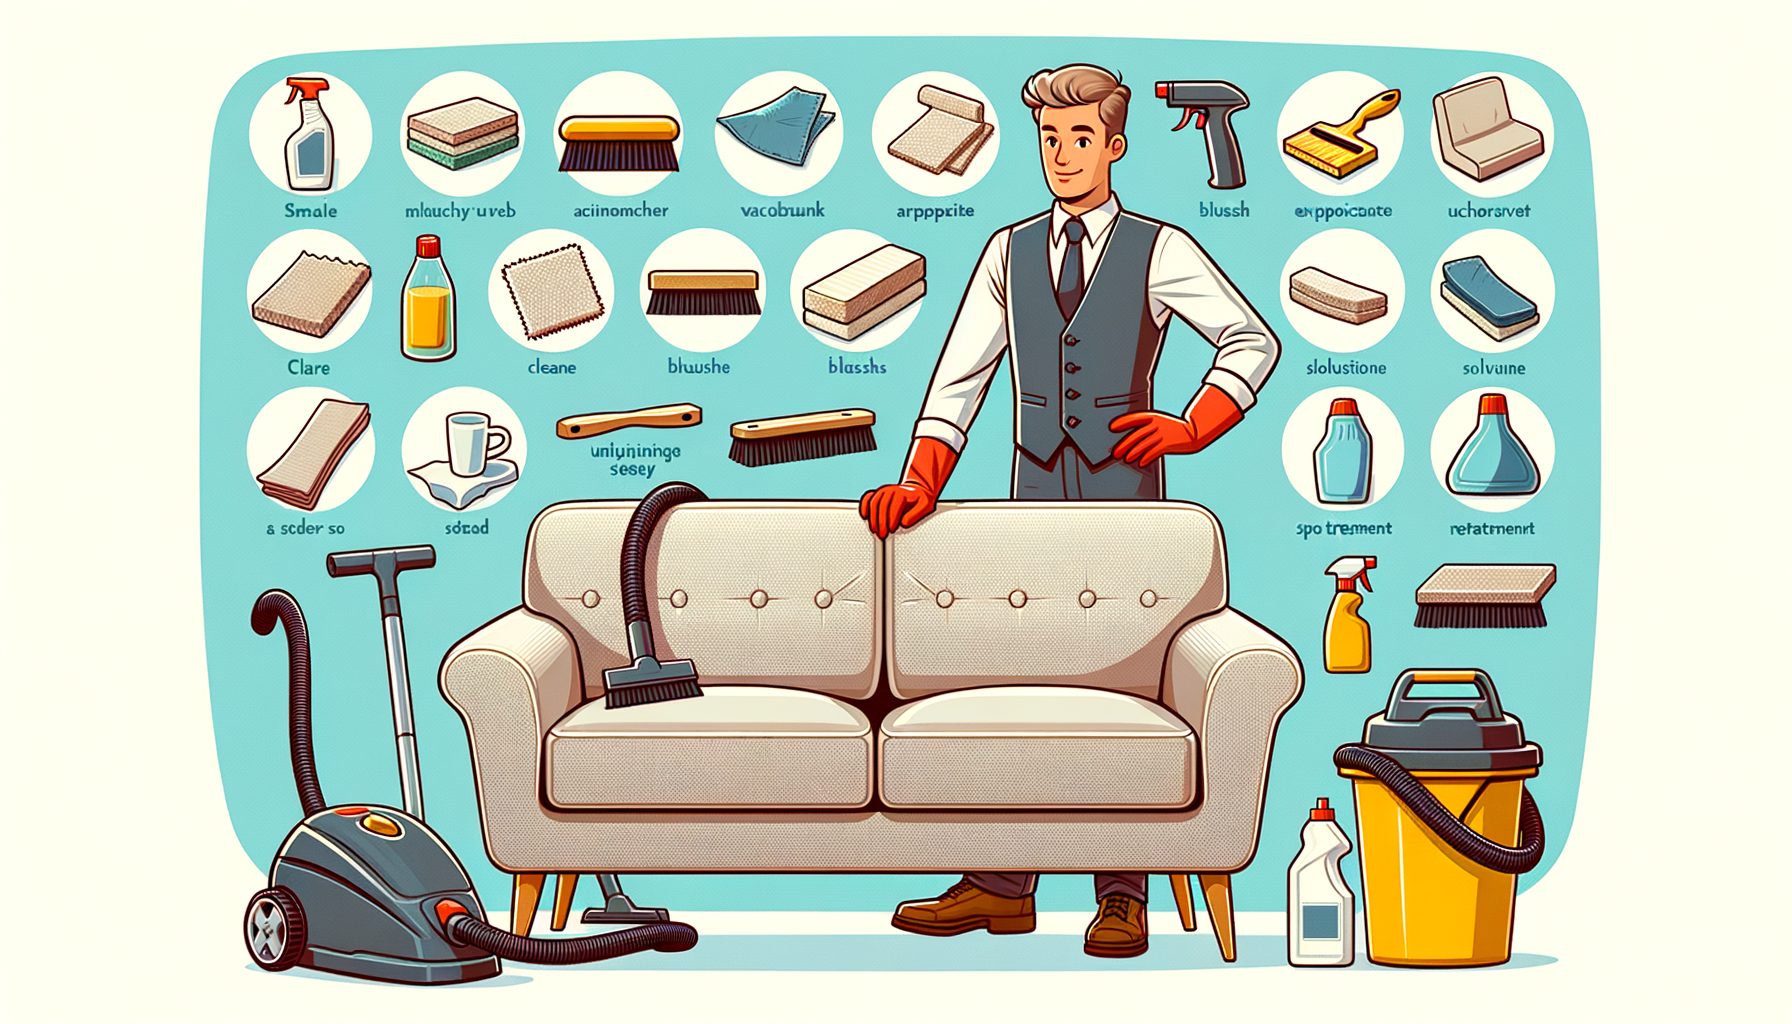
Dust and allergens settle on soft surfaces and floors, so finishing strong here improves both appearance and indoor air quality. Start by vacuuming from the far corner of each room toward the exit. Use slow, overlapping strokes. On carpet or rugs, go in two directions (north–south, then east–west) to lift embedded dirt. Attach a crevice tool for baseboards, sofa seams, and mattress edges. If you can, use a vacuum with a HEPA filter to capture very fine particles; HEPA systems are designed to trap 99.97% of particles ≥ 0.3 microns, which can help reduce allergens. For more on indoor air and filtration, see the EPA’s indoor air quality resources (https://www.epa.gov/indoor-air-quality-iaq).
On hard floors, use the two-bucket method when mopping: one bucket for clean solution, one for rinse water. Doing so prevents spreading dirty water across the home and reduces streaks. Microfiber mop heads pick up more fine dust than cotton; wash them after use to avoid odors. Work in small sections, keeping the mop slightly damp—not dripping—to protect wood or laminate. For sticky spots, apply cleaner, let it dwell, then wipe; friction alone rarely beats chemistry plus time.
Fabrics trap odors and dust. Wash bed linens weekly in warm or hot water (40–60°C or 104–140°F). Pillow and duvet care varies by fill; check labels. Wash or replace pillow protectors monthly to reduce dust mites. For curtains and sofa covers, vacuum with an upholstery tool monthly and launder seasonally. If you have pets, a rubber grooming glove quickly lifts hair from upholstery before vacuuming. Don’t forget doormats—shaking or vacuuming them weekly reduces how much grit enters your home and protects floors. Finally, reset rooms: return items to place, light a fresh-smelling candle (or simmer citrus peels and spices on the stove), and crack a window for five minutes if outdoor air is good. Your home should look clean—and breathe clean.
Smart, Safe, and Budget-Friendly Cleaners (DIY Included)
Great results don’t require a shelf full of specialty products. Many pros rely on a small, effective arsenal and a few safe DIY formulas for everyday jobs. Keep an all-purpose cleaner (neutral pH) for most sealed surfaces, a glass cleaner for mirrors and windows, a bathroom cleaner for soap scum/mineral deposits, a degreaser for the kitchen, and a registered disinfectant for high-touch surfaces. Read labels, follow contact times, and never mix chemicals. Labels matter. Important safety reminders: don’t combine bleach with ammonia or acids (like vinegar or toilet cleaners); wear gloves if you have sensitive skin; ventilate well; and store products away from children and pets. If you prefer fewer chemicals at home, DIY mixtures can help with routine cleaning—just label bottles and make small batches.
Here are simple, versatile DIY recipes to cover most needs:
| Purpose | Ingredients & Ratio | Best For | Avoid Using On |
|---|---|---|---|
| Glass & Mirror | 1 part white vinegar + 1 part distilled water | Windows, mirrors, glossy tiles | Natural stone, electronics screens |
| All-Purpose (Light) | 2 cups water + 1 tsp dish soap | Counters (sealed), cabinets, appliances exteriors | Unfinished wood, unsealed stone |
| De-scaler | 2 tbsp citric acid + 2 cups warm water | Kettle, showerheads, glass with hard-water spots | Marble, limestone, travertine |
| Grout Scrub | Baking soda + water to paste | Tile grout, tub rings | Natural stone if not sealed |
| Whitening/Stain Lift | 3% hydrogen peroxide (spot test) | Grout whitening, cutting boards (rinse well) | Delicate fabrics, wool, silk |
When disinfection is needed, DIY is not a substitute for registered products. Check EPA List N (US) or your country’s health authority for approved disinfectants, and always follow the label. If you want to evaluate product ingredients for environmental or health considerations, tools like the Environmental Working Group’s Guide to Healthy Cleaning (https://www.ewg.org/guides/cleaners) can help you compare options. The smartest strategy: use the gentlest effective product for routine cleaning, save strong disinfectants for high-touch zones or illness, and rely on dwell time and good technique to do the heavy lifting.
Quick Q&A
Q: How often should I deep clean each area?
A: Do a weekly surface clean (dust, wipe, floors), then deep clean kitchens and bathrooms every 2–4 weeks depending on usage. Seasonally, wash curtains, clean under/behind big appliances, flip mattresses, and detail grout.
Q: What’s the fastest way to make a room look clean?
A: Declutter for 5–10 minutes, smooth textiles (beds, sofa throws), wipe visible surfaces, and vacuum the main pathways. These steps deliver an immediate visual reset.
Q: Are natural products enough to kill germs?
A: For routine cleaning, yes—soap-based cleaners and friction remove many microbes. For disinfection (especially after illness), use a registered disinfectant and follow label contact times. See EPA List N or your local equivalent.
Q: How can I reduce allergies at home?
A: Use a HEPA vacuum weekly, launder bedding in warm/hot water, keep humidity around 40–50%, dust with damp microfiber, and focus on entry mats to reduce tracked-in particles.
Q: Is steam cleaning safe for all surfaces?
A: Steam can sanitize and lift grime, but avoid on unsealed wood, some laminates, and delicate finishes. Always test a small area and follow the tool’s manual.
Conclusion: Your Sparkling-Home Blueprint—Simple, Repeatable, and Fast
You now have a complete, step-by-step Home Cleaning Guide you can run on autopilot: quick declutter and prep, dust-to-disinfect in the right order, focused kitchen and bathroom deep cleans, and a strong finish with floors, fabrics, and allergen control. It works because it respects the physics of dust (top to bottom), the chemistry of cleaners (dwell time), and the reality of busy lives (short, high-impact steps). By staging tools, sticking to the dry-to-wet flow, and reserving true disinfectants for high-touch zones, you’ll clean faster, waste less product, and keep your home in an “always almost clean” state—without weekend marathons.
Here’s your next move: pick one room and try the 20-minute declutter and prep today. Tomorrow, run the dust–clean–disinfect sequence and finish with a fast vacuum. In two days, you’ll see visible momentum—and that’s the habit-builder. Bookmark this guide, set a recurring weekly reminder, and keep your caddy stocked. If you want to go further, create a simple rotation: Week 1 (bath deep clean), Week 2 (kitchen detail), Week 3 (bedroom textiles), Week 4 (appliance and filter checks). Small, steady wins beat occasional overhauls every time.
Your home should support your life, not compete with it. With a clear plan, a few affordable tools, and consistent 20–30 minute bursts, you can maintain hotel-fresh vibes without living in your laundry basket. Start now, keep it light, and celebrate progress over perfection. What’s the first 10-minute task you’ll tackle to spark your clean-home momentum today?
Sources
CDC – Cleaning and Disinfecting Your Home: https://www.cdc.gov/flu/prevent/cleaning-disinfection.htm
EPA – List N: Disinfectants for Use Against SARS-CoV-2: https://www.epa.gov/pesticide-registration/list-n-disinfectants-use-against-sars-cov-2
EPA – Indoor Air Quality (IAQ) Basics and Resources: https://www.epa.gov/indoor-air-quality-iaq
Environmental Working Group – Guide to Healthy Cleaning: https://www.ewg.org/guides/cleaners