
Complete House Cleaning sounds simple, yet the real-life struggle is knowing where to start, finding the time, and staying consistent without burning out. Overwhelmed by clutter, dust, and endless chores? You are not alone. Here is a step-by-step guide that breaks cleaning into clear phases so you can move with confidence, save time, and get a home that actually stays clean. Whether you live solo, with roommates, or with family, the plan below is practical, safe, and easy to follow.
Why Complete House Cleaning Feels Hard—and How to Fix It
The biggest problem most people face is decision overload. When every room needs work, your brain burns energy choosing what to do first. That leads to jumping around, half-finished tasks, and feeling behind. Complete House Cleaning uses a repeatable order—declutter, dust high to low, clean surfaces, then floors, and only then sanitize high-touch points—to cut through the noise. As a result, backtracking is avoided and quick wins build momentum.
Time pressure is another barrier. Many people imagine a full-day deep clean, then avoid starting because it seems impossible. Instead, think in focused blocks: 15, 25, or 45 minutes. Use a timer, pick a single area, and stop when it rings. The time-box method keeps you moving and fits busy schedules. If you have a free hour on weekends, stack two or three blocks and you will finish more than you expect without exhaustion.
Health and safety matter, too. Kitchens and bathrooms collect moisture and food residue, which can support bacteria growth on surfaces if not cleaned regularly. High-touch spots like door handles and light switches accumulate oils and germs from hands. According to public health guidance, routine cleaning with soap or detergent removes dirt and reduces contaminants; disinfecting is reserved for when someone is sick or when sanitation is necessary. You can learn more about best practices from the U.S. Centers for Disease Control and Prevention at https://www.cdc.gov/hygiene/cleaning/.
Allergies add another challenge. Dust mites thrive in warm, humid environments and often live in bedding, sofas, and carpets. Reducing humidity below 50 percent, washing bedding in hot water, and vacuuming with a HEPA-filter machine helps minimize allergens. For an overview of dust mite triggers and control tips, see the American Academy of Allergy, Asthma & Immunology at https://www.aaaai.org/Tools-for-the-Public/Conditions-Library/Allergies/Dust-Mite-Allergy.
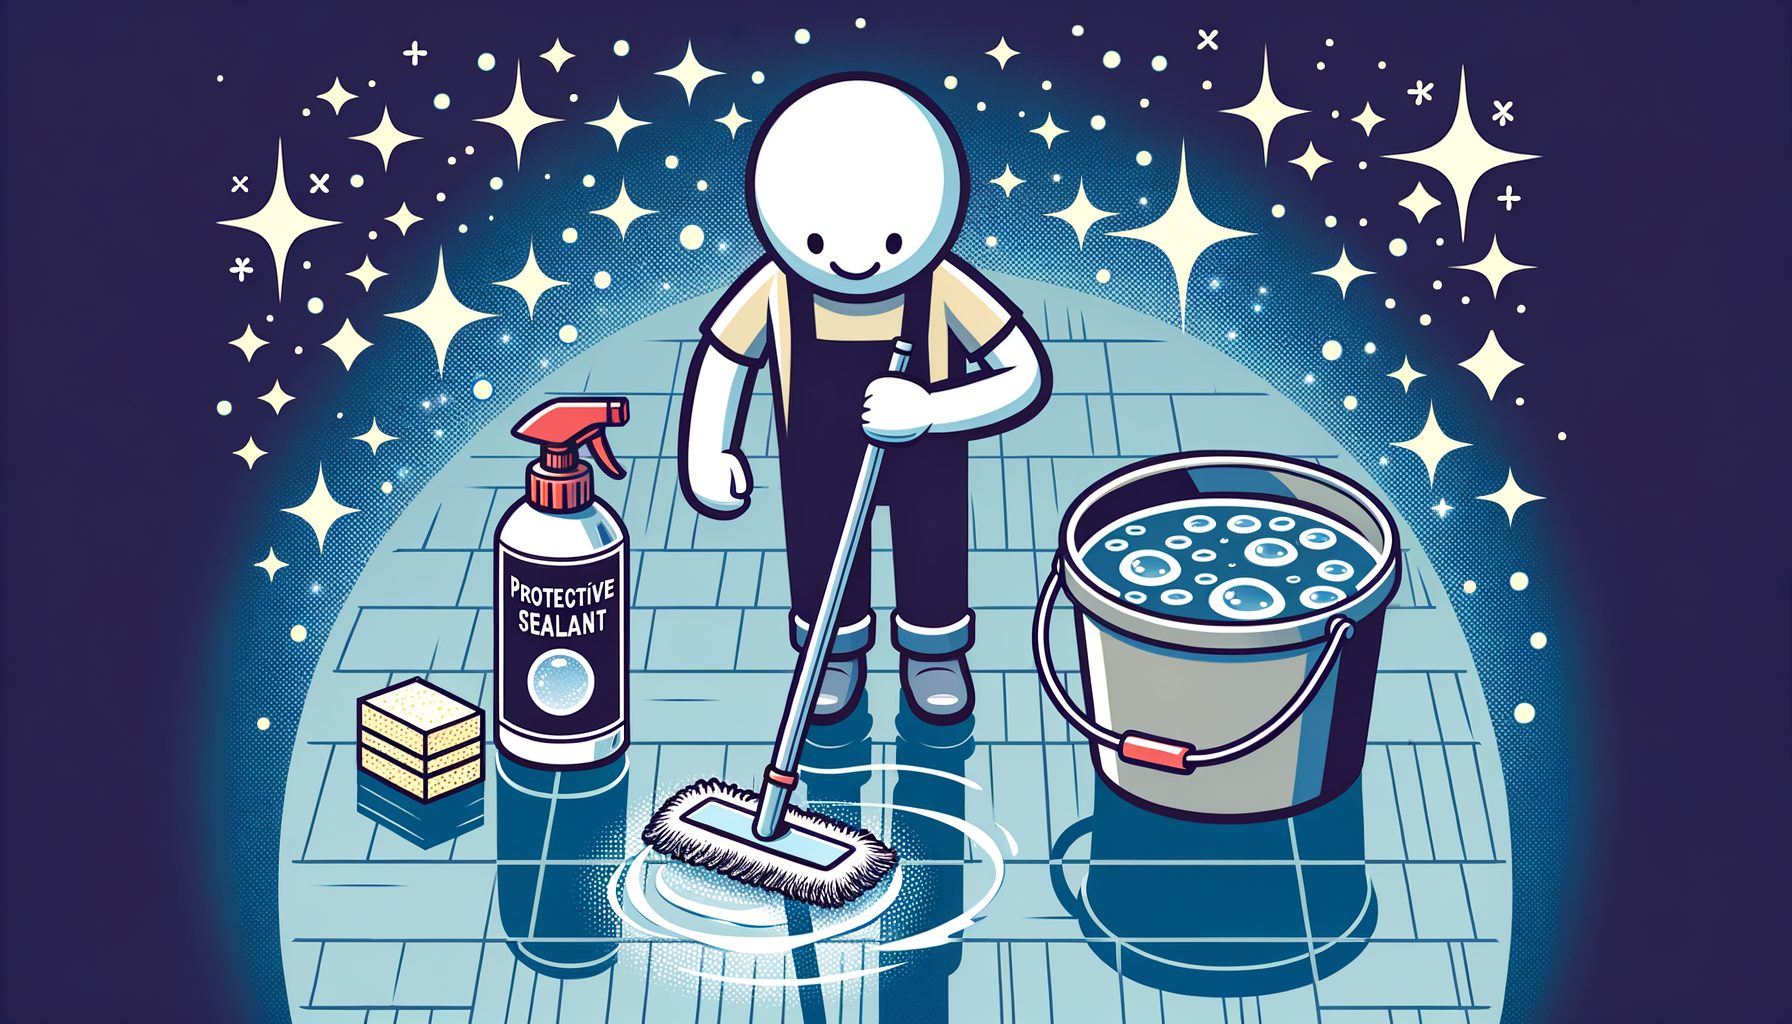
Finally, product confusion slows people down. You do not need a dozen cleaners. A simple, safe toolkit—microfiber cloths, an all-purpose cleaner, a bathroom descaler, dish soap, glass cleaner, and a HEPA vacuum—covers nearly everything. If you want eco-friendlier options, the U.S. EPA Safer Choice list highlights products that meet strict safety criteria: https://www.epa.gov/saferchoice. With a short, proven routine and the right tools, complete house cleaning becomes a manageable habit instead of a stressful event.
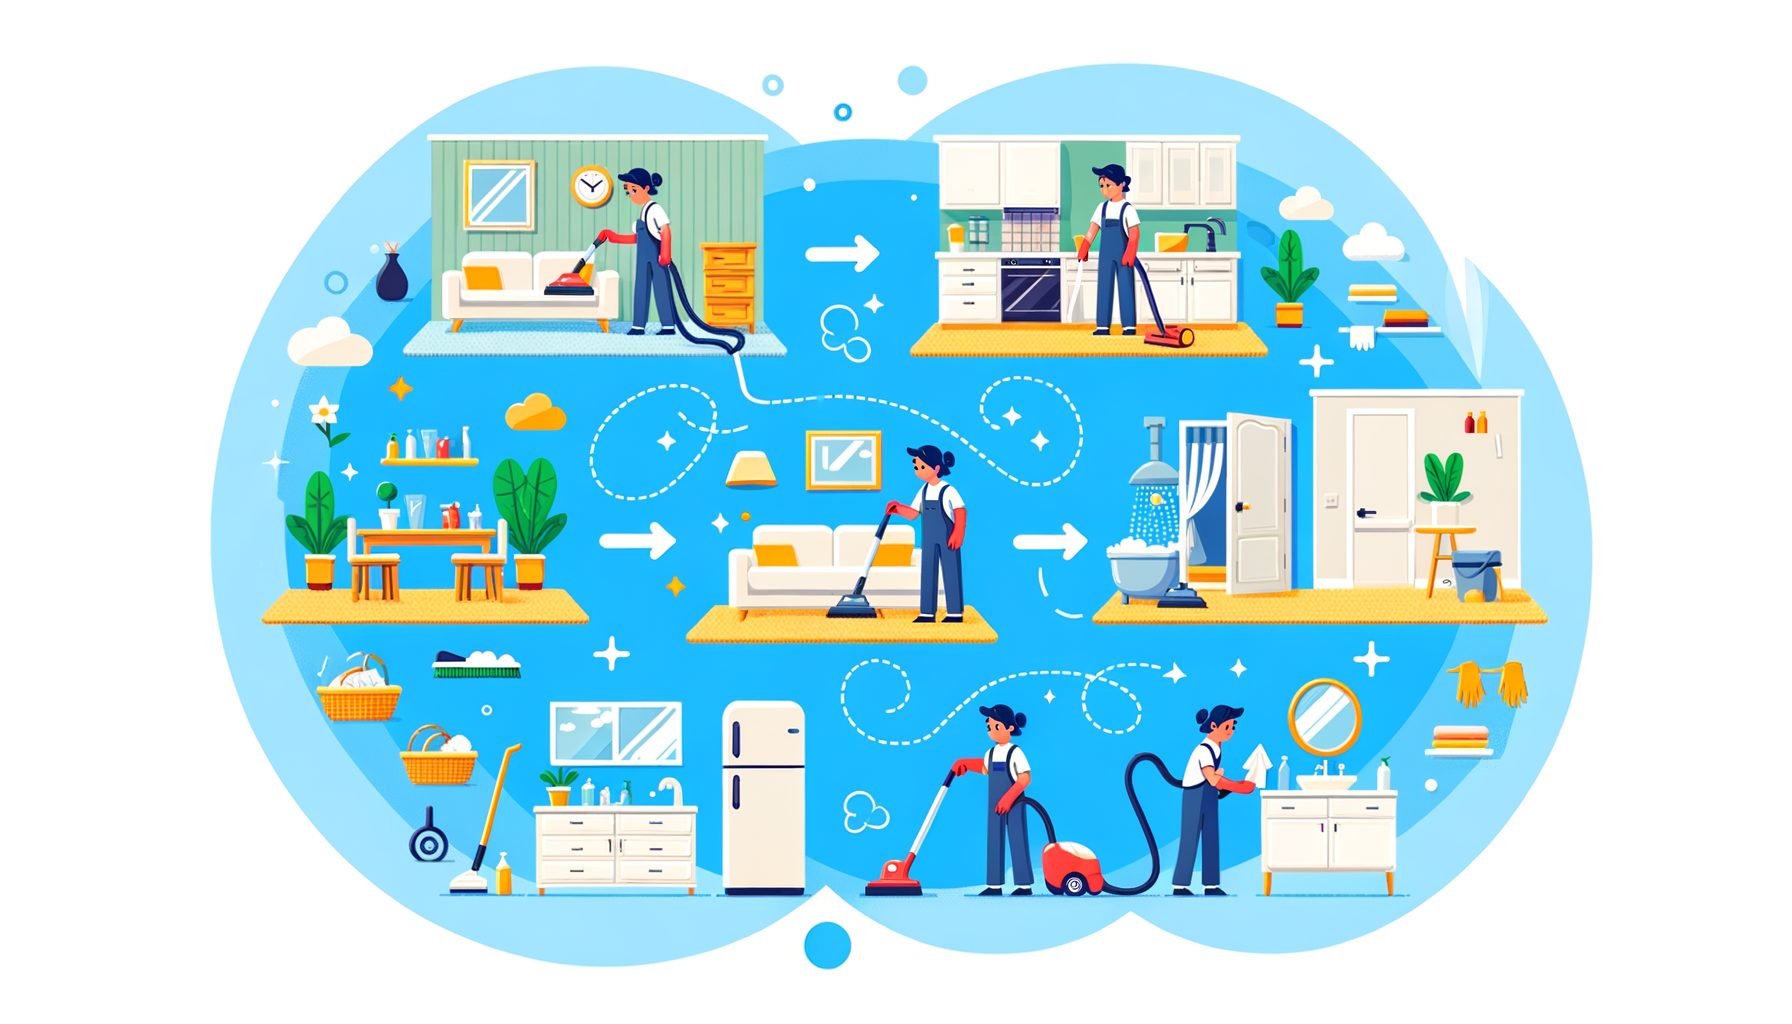
Room-by-Room Step-by-Step Routine You Can Actually Finish
Start with the same order in every room: remove trash and clutter, dust top to bottom, clean surfaces, and finish with the floor. That sequence prevents rework and gives visible progress fast. Work clockwise around the room so you never lose your place. Keep a caddy with your core supplies to avoid repeated trips.
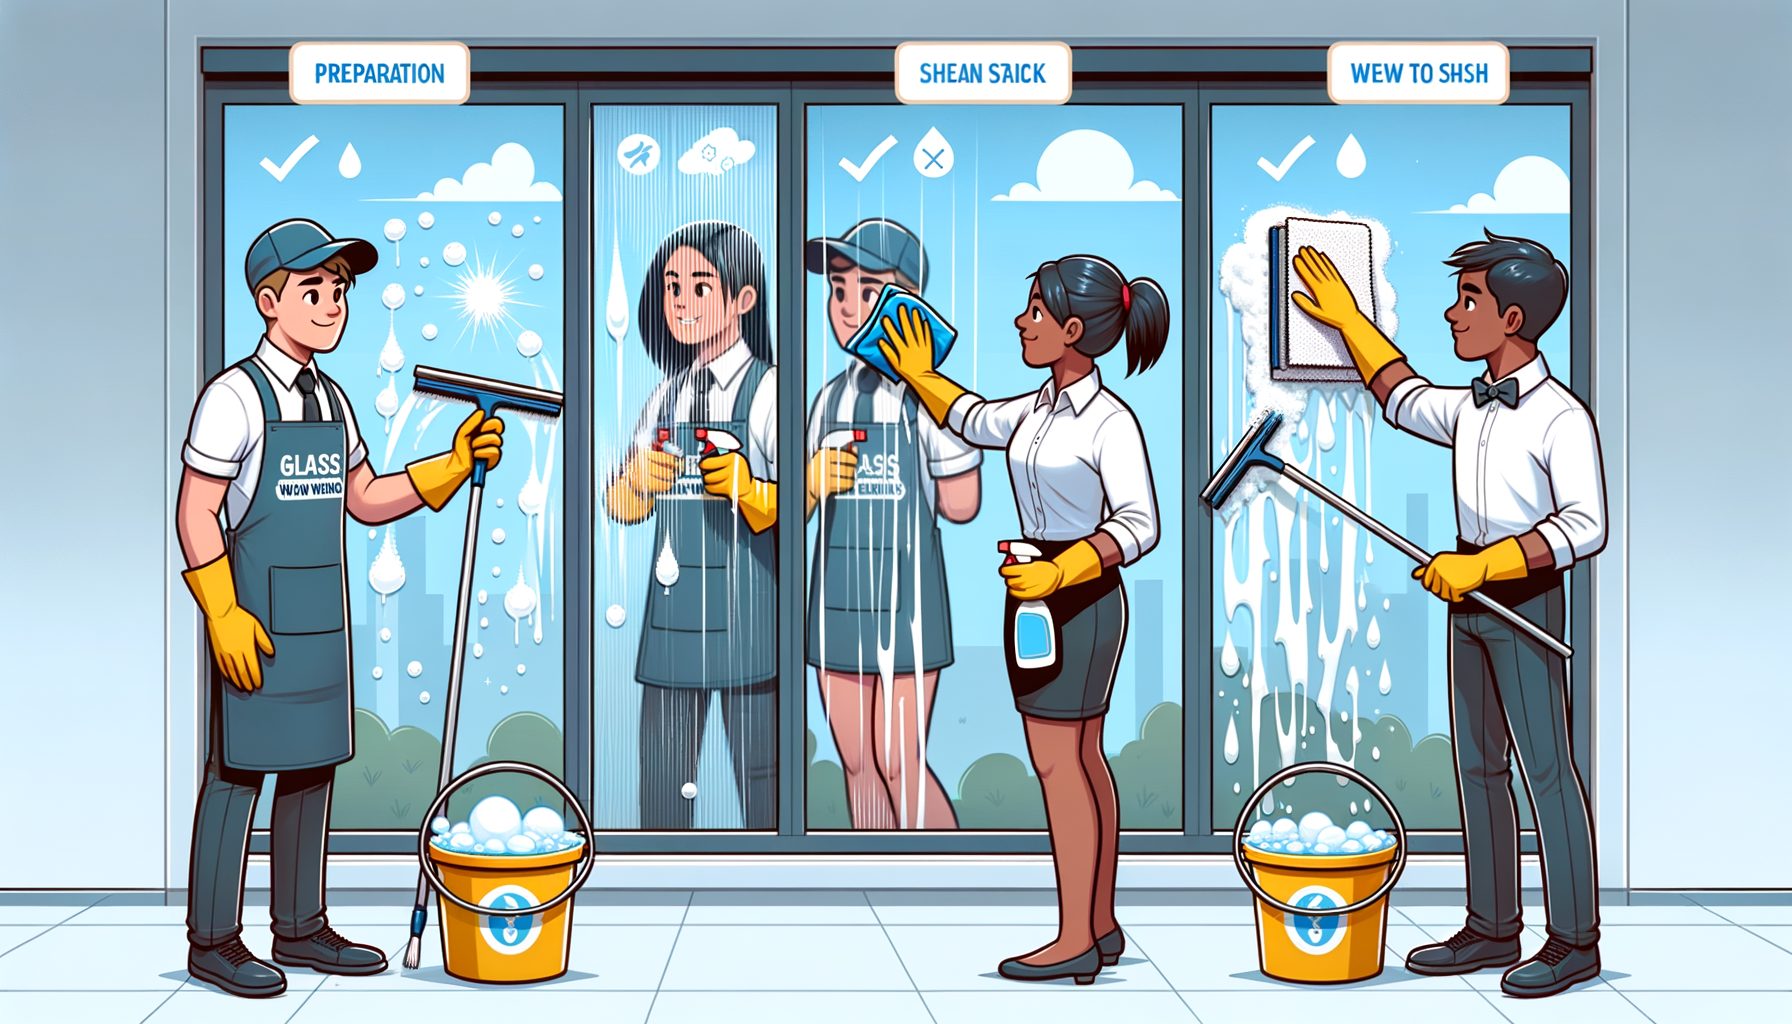
Kitchen: Clear counters and sink first. Load or hand-wash dishes so the sink is empty. Counters and the backsplash can be sprayed with all-purpose cleaner, allowed to sit for the labeled dwell time, and then wiped. Clean the stovetop; if there is baked-on grease, apply a degreaser and let it work before scrubbing. Cabinet fronts should be wiped where hands touch most often. Clean the sink last so you are not re-dirtying it during other tasks. Empty the crumb tray in the toaster, wipe appliance handles, and spot-clean the fridge shelves. Take out trash and wipe the bin rim. Sweep and mop the floor from the far corner back to the exit. The kitchen often contains the highest bacterial loads on items like sponges and sink drains; NSF International has a helpful overview of common hotspots: https://www.nsf.org/knowledge-library/germiest-places-in-your-home.
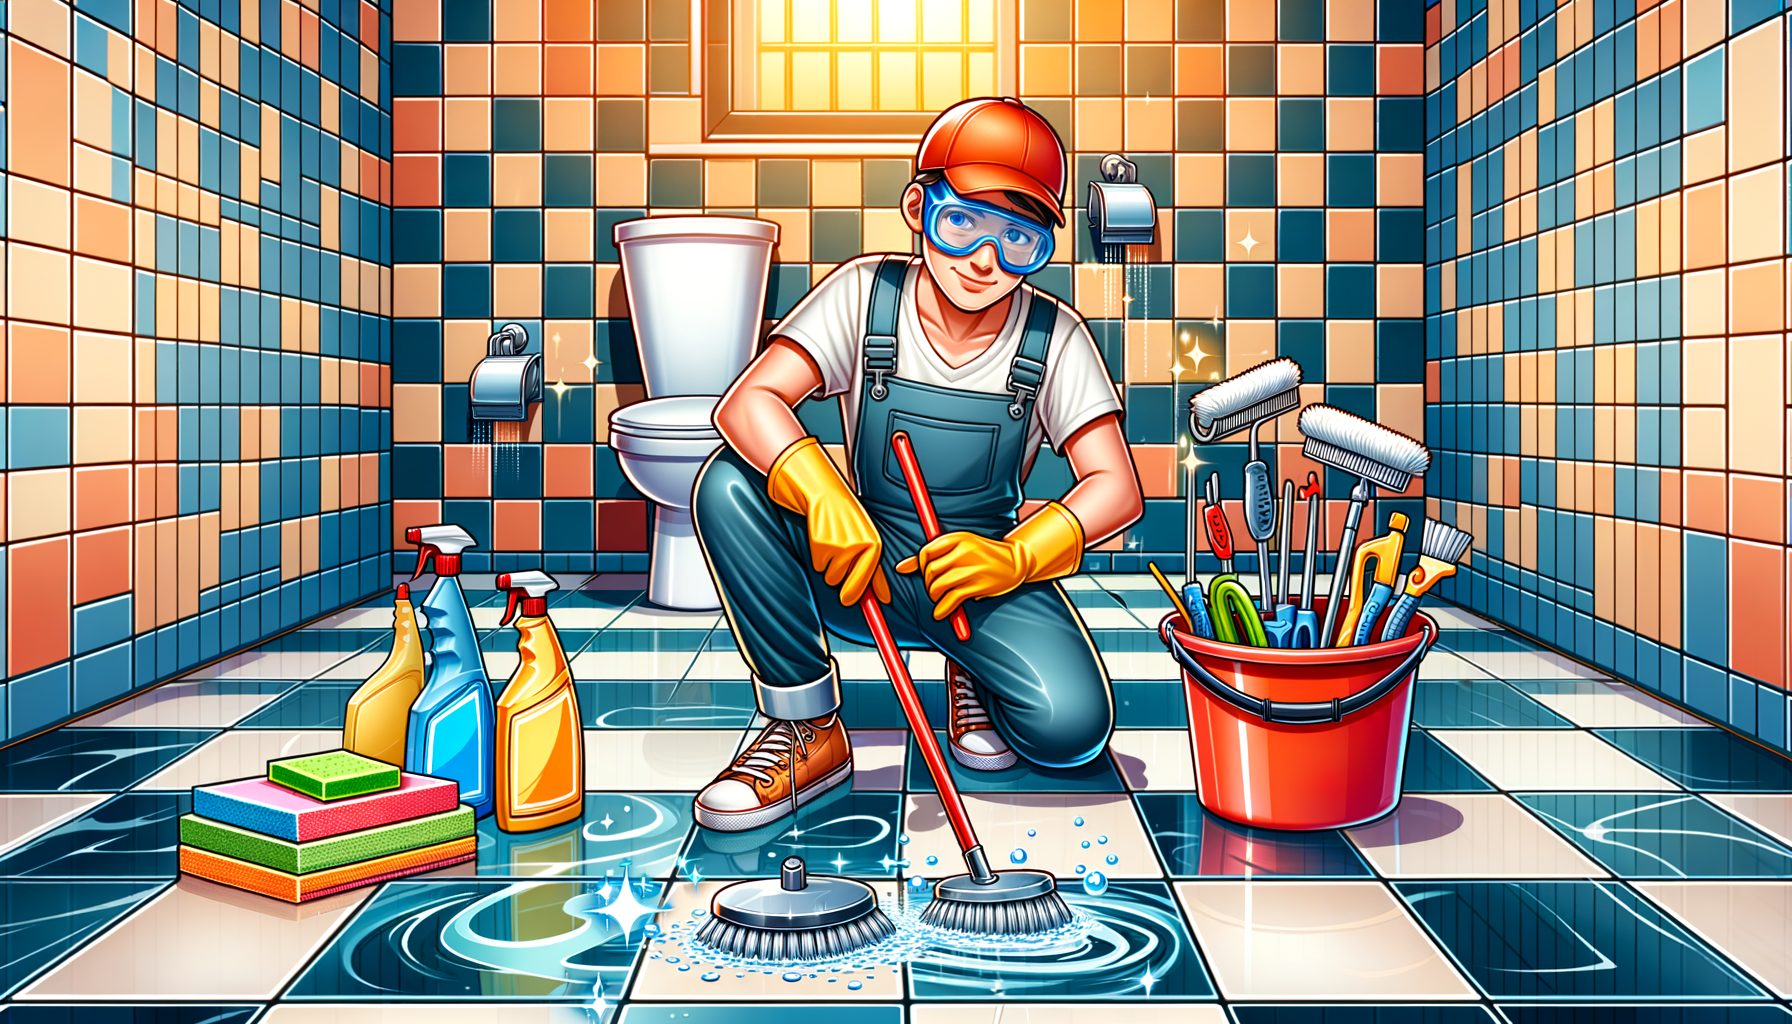
Bathroom: Remove items from surfaces. Spray the toilet bowl and let cleaner sit. Apply descaler to the shower walls and glass, and to faucets if you see mineral deposits. Clean the mirror with a glass cleaner. Wipe the vanity top, tap, and basin. The shower or tub is scrubbed from top to bottom, then rinsed thoroughly. Clean the toilet last: rim, seat (top and underside), exterior, and handle, then brush and flush the bowl. Empty the trash, replace towels, and mop the floor. Good ventilation reduces humidity and mold; run an exhaust fan during and after showers if possible.
Bedrooms: Strip bedding and start laundry before you clean so the machine runs in the background. Clear nightstands and dressers, then dust high shelves, headboards, and lamps. Wipe switches and handles. Clean mirrors or glass surfaces. If you have a HEPA vacuum, use the upholstery tool to vacuum mattresses; dust and dander are reduced when you do this regularly. Return clean bedding or make the bed with fresh sheets to give an instant reset that changes how the whole room feels.
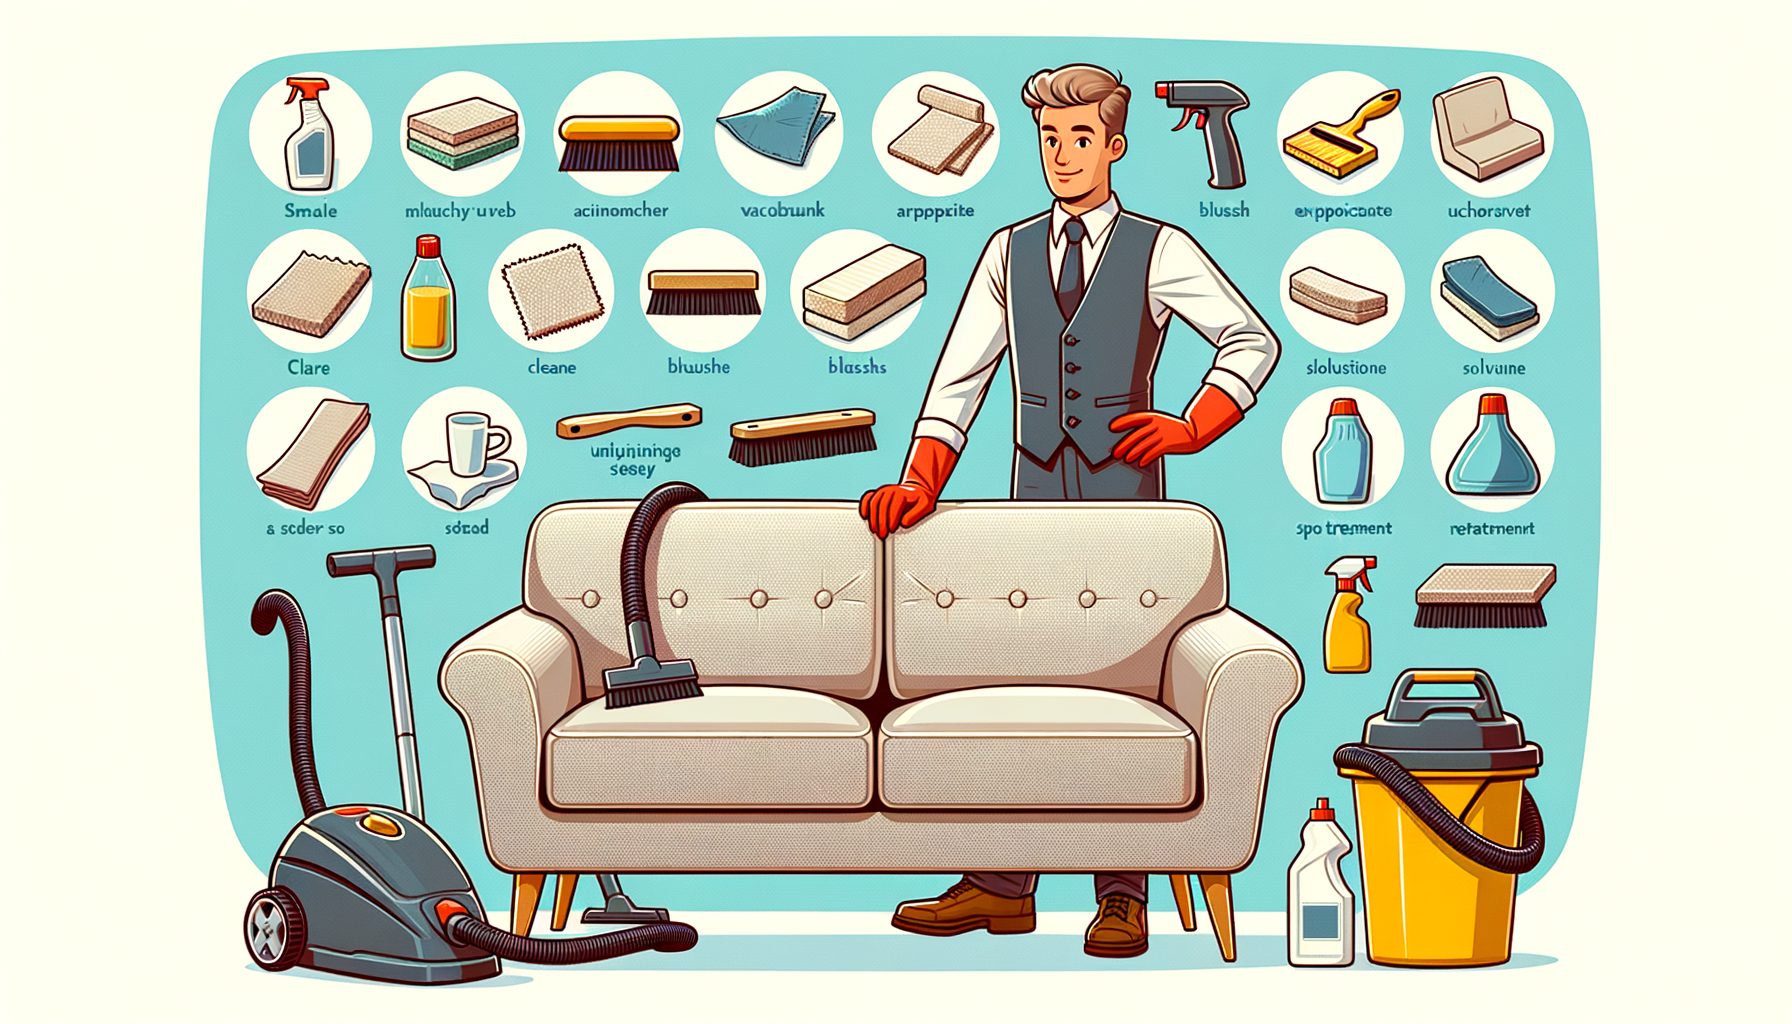
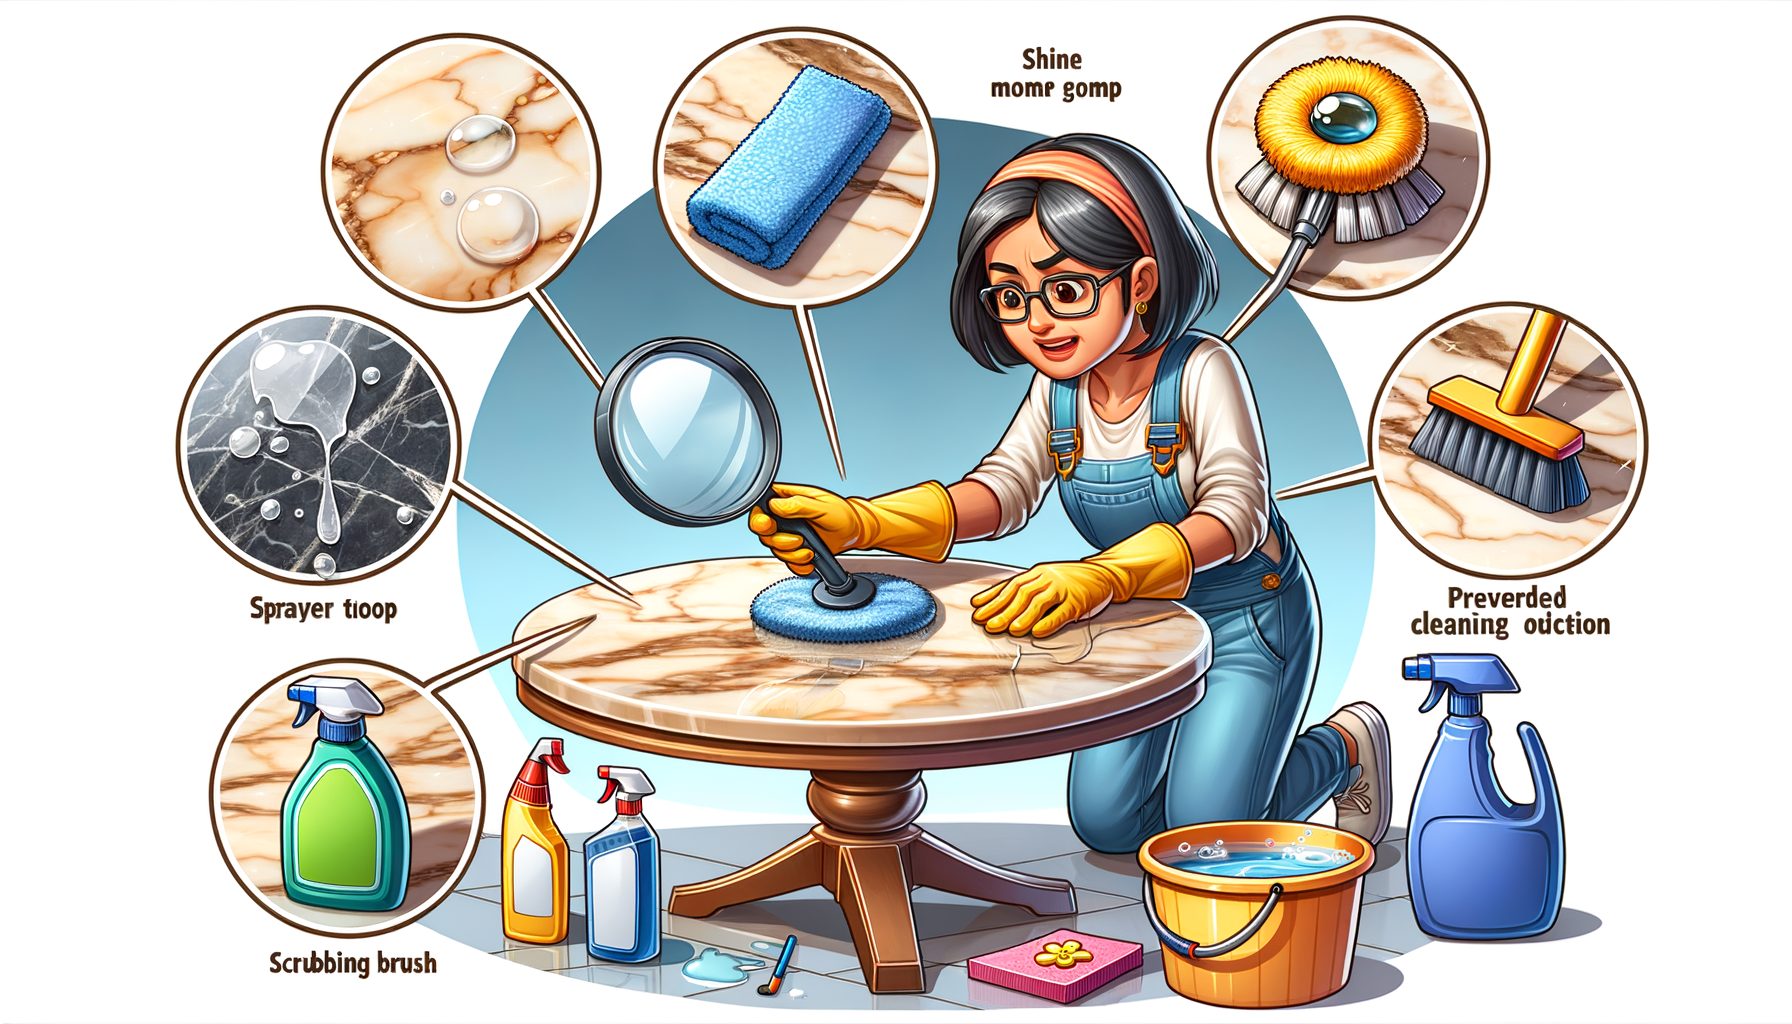
Living and work areas: Tidy surfaces first—put remotes, chargers, and papers in their spots. Dust ceiling fans, top shelves, frames, and electronics. Wipe coffee tables, desks, and door handles. For screens, use a dry microfiber or a cleaner safe for electronics to avoid streaks. Upholstered furniture and under cushions should be vacuumed. Finish with floors: vacuum carpets slowly in overlapping lines for better pickup, or sweep and mop hard floors. If you work from home, finish by clearing your desk and coiling cables; a clean desk makes the next day easier.
Entryways and hallways: These areas collect outdoor dirt fast. Shake door mats outside if possible, then vacuum or wash them. Wipe door handles, railings, and light switches. Sweep or vacuum the floor and check for scuffs on walls you can spot-clean quickly. Consistent care in these high-traffic zones keeps the rest of the house cleaner longer.
Tools, Non-Toxic Products, and Time-Saving Tricks for a Faster Clean
Build a compact cleaning kit so you can start without hunting for supplies. Microfiber cloths trap fine dust because of their split fibers; colors can be assigned by task (for example, blue for glass, green for general surfaces, yellow for bathrooms) to avoid cross-contamination. A true HEPA vacuum helps capture very small particles; HEPA filters are designed to remove at least 99.97 percent of particles that are 0.3 microns in size when properly installed and maintained. You can read about filtration basics from the U.S. Environmental Protection Agency here: https://www.epa.gov/indoor-air-quality-iaq/air-cleaners-and-air-filters-home.
Choose safer products when possible. An all-purpose cleaner covers most sealed surfaces. A dedicated bathroom descaler handles soap scum and mineral deposits. For glass and stainless steel, use cleaners that do not leave residue. If you prefer lower-toxicity options, look for the EPA Safer Choice label at https://www.epa.gov/saferchoice, or make simple DIY cleaners like diluted dish soap for counters and a vinegar-and-water mix for windows and mirrors on compatible surfaces. Always spot test first and never mix chemicals; for example, bleach and ammonia together create toxic gases. The CDC offers guidance on cleaning and safe disinfectant use at https://www.cdc.gov/hygiene/cleaning/.
Use methods that reduce backtracking. Clean high to low so dust falls to areas you have not finished yet. Move left to right around the room to avoid missing spots. Let products sit for their recommended dwell time before wiping so chemistry does the heavy lifting; that is especially helpful for soap scum and greasy splatters. Work in zones: clear, clean, then reset each zone before moving on. Keep a small bin or tote for items that belong in another room. When you finish your current room, take the bin and redistribute items in one quick trip rather than many small interruptions.
Streamline laundry and floors. Pre-sort laundry with two or three hampers (lights, darks, towels/linens) so you can start a load in seconds. For floors, vacuum slowly; two careful passes often pick up more than four fast ones. On hard floors, a microfiber mop with a washable pad saves money and reduces waste compared with disposable pads. If you have pets, brush them regularly and vacuum high-traffic paths daily or every other day to stay ahead of fur and dander. Small, consistent actions prevent big messes later and make complete house cleaning sessions much shorter.
A Cleaning Schedule That Works: Daily, Weekly, Monthly
Consistency is the secret to a home that stays clean. A realistic schedule spreads effort across the week so nothing becomes overwhelming. Use the framework below as a template, then adjust it to your space, lifestyle, and number of occupants. If you miss a day, skip the guilt and resume the next task. Progress beats perfection.
Daily tasks keep surfaces usable and stress low. Make the bed, reset the kitchen after meals, handle visible spills, and do a light tidy in living areas. These small wins maintain order. Weekly tasks go deeper: bathrooms, floors, dusting, bedding, and trash. Monthly tasks target build-up like appliances, baseboards, and vents. Seasonal tasks handle bigger resets such as windows, upholstery, and organizing closets. The plan is flexible; if you host often or have pets or kids, you may increase frequency for floors and bathrooms.
Below is a simple schedule with time estimates. Adjust based on home size, help from others, and your tools. If your space is larger, split weekly items across days instead of doing everything on one weekend.
| Frequency | Key Tasks | Why It Matters | Approx. Time |
|---|---|---|---|
| Daily | Make beds; load/unload dishes; wipe kitchen counters and sink; quick bathroom wipe of faucet and mirror; 10-minute living room reset | Prevents buildup and keeps spaces usable; reduces stress the next morning | 20–40 minutes total |
| Weekly | Clean bathrooms; vacuum and mop floors; dust surfaces; change bedding; empty all trash and wipe bins | Removes dirt, hair, and allergens; resets hygiene in high-use zones | 2–4 hours, split across days |
| Monthly | Wipe baseboards; clean inside microwave and oven; descale showerheads; wash or vacuum vents; wash throw blankets and pillow covers | Targets hidden buildup and improves air quality and appliance performance | 2–3 hours |
| Seasonal | Deep clean fridge; wash windows and screens; clean under and behind furniture; steam or launder curtains; donate or recycle unused items | Refreshes the whole home and reduces clutter; improves light and airflow | 4–6 hours, or split over weekends |
To make this schedule stick, tie tasks to triggers you already do. After breakfast, wipe the counters and start the dishwasher. After your last meeting, do a 10-minute desk and living area reset. On laundry day, start sheets first so you can make the bed while floors dry. If you share your home, assign roles and rotate weekly. Keep it visible: write tasks on a wall calendar or use a shared app. The goal is not perfection; it is a calm, clean environment that supports your life.
Conclusion: Your Action Plan for a Cleaner Home, Starting Today
We covered the core barriers to complete house cleaning—decision fatigue, time pressure, product confusion—and replaced them with a clear path: a simple room sequence, a compact toolkit, safer product choices, time-boxed sessions, and a realistic schedule that spreads work across the week. You now have a practical blueprint to clean faster, reduce stress, and keep your space feeling fresh. The key is consistency, not intensity.
Well, here it is: your specific call-to-action. First, pick one room and set a 25-minute timer. Follow the order—declutter, dust high to low, clean surfaces, then floors, and finish with high-touch points. Second, choose three daily habits to anchor: make the bed, reset the kitchen after dinner, and do a 10-minute evening tidy. Third, select one weekly slot for bathrooms and one for floors; block them on your calendar. Finally, simplify your kit: microfiber cloths, a HEPA vacuum, an all-purpose cleaner, a bathroom descaler, dish soap, and glass cleaner are enough for most homes.
If you prefer eco-friendlier products, check the EPA Safer Choice list and read labels for dwell times and safety notes. Keep your process the same each week so it becomes automatic. Share tasks with roommates or family, and use music or a podcast to make sessions feel lighter. Small actions compound into big results, and a clean home supports better focus, better rest, and better health.
Start today, not someday. Set one timer, finish one zone, and enjoy the momentum. Your home does not need to be perfect to feel peaceful; it just needs a plan. What room are you choosing first?
Q&A: Common Questions About Complete House Cleaning
Q: Should I clean or disinfect first? A: Clean first. Cleaning with soap or detergent removes dirt and many contaminants. Disinfect when someone is sick or for high-risk situations, and follow label dwell times. See CDC guidance: https://www.cdc.gov/hygiene/cleaning/.
Q: How do I speed up floor cleaning? A: Declutter the floor first, vacuum slowly with overlapping passes, and mop with a microfiber pad. Work from the far corner toward the exit to avoid footprints and rework.
Q: Are natural cleaners enough? A: For routine cleaning, mild detergents and safer products are effective on most sealed surfaces. For sanitizing needs, use an approved disinfectant as labeled. The EPA Safer Choice site lists safer options: https://www.epa.gov/saferchoice.
Q: What is the best way to manage pet hair and dander? A: Brush pets regularly, vacuum high-traffic areas daily or every other day with a HEPA vacuum, and wash pet bedding weekly. Lint-rolling sofas and using washable throws also help.
Q: How can I keep the bathroom from getting moldy? A: Improve ventilation by running the exhaust fan during and after showers, squeegee walls and glass to remove water, and clean and dry surfaces weekly. Keep humidity below 50 percent if possible.
Sources
CDC: Cleaning and Disinfecting Your Home – https://www.cdc.gov/hygiene/cleaning/
U.S. EPA: Safer Choice – https://www.epa.gov/saferchoice
U.S. EPA: Air Cleaners and Air Filters in the Home (HEPA basics) – https://www.epa.gov/indoor-air-quality-iaq/air-cleaners-and-air-filters-home
NSF International: Germiest Places in Your Home – https://www.nsf.org/knowledge-library/germiest-places-in-your-home
AAAAI: Dust Mite Allergy Overview – https://www.aaaai.org/Tools-for-the-Public/Conditions-Library/Allergies/Dust-Mite-Allergy