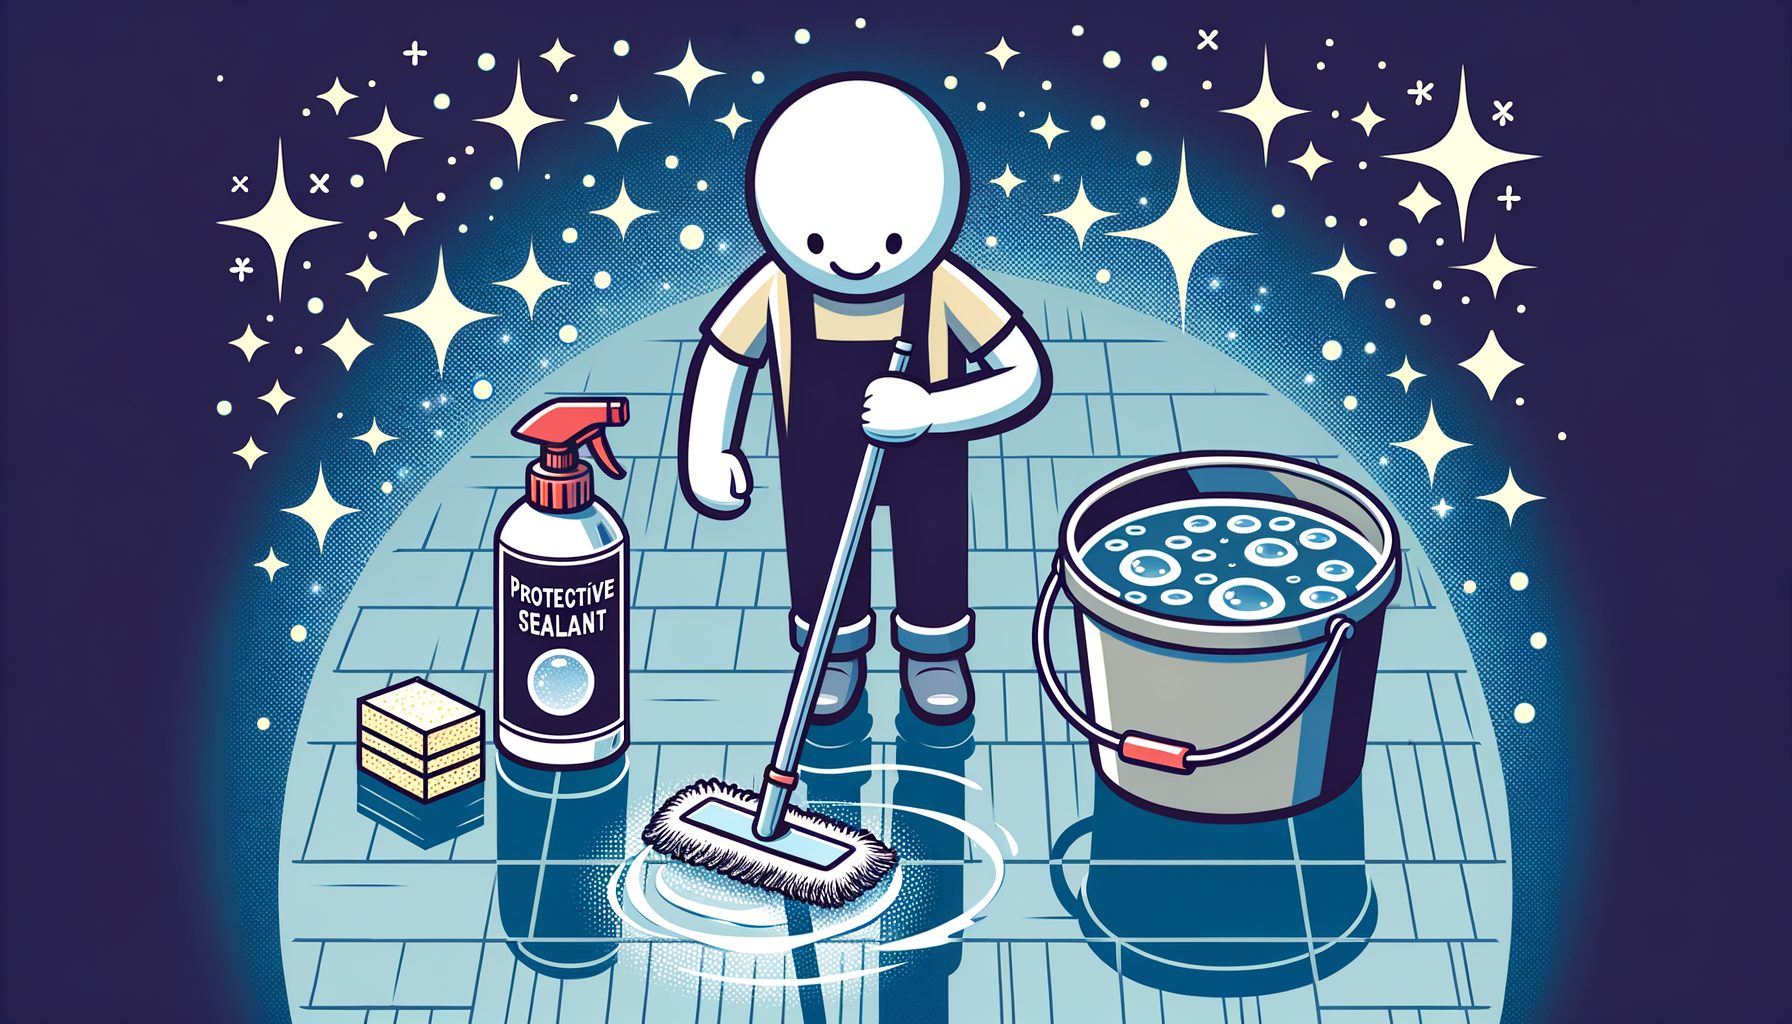

If you’ve ever burned a whole Saturday scrubbing, only to watch dust, streaks, and clutter creep back within days, you’re not alone. The truth is, most people don’t need more effort—they need a smarter plan. In this best house cleaning guide, you’ll find proven methods for a spotless home, blending evidence-based techniques, simple routines, and practical tools. The hook is simple: apply a few systematic tweaks and cleaning stops feeling endless; it starts to feel automated.
The real problem: cleaning feels endless because there’s no system
Most homes get messy again not because you’re lazy or disorganized, but because dirt arrives constantly—on shoes, in airflow, on pet fur—and your current approach probably treats cleaning as a random event, not a repeatable system. Without structure, you end up “spot-cleaning” whatever looks worst, hopping between rooms, re-tracking dirt you just removed, and wasting energy. The result? You work hard and still don’t get that enduring, hotel-fresh feel.
There are three root causes that make cleaning feel endless. First, disorder shows up daily (dust settles every 24–48 hours; kitchens collect a film of oil every cook; bathrooms build mineral deposits with each shower). Second, poor sequencing turns one task into two—for example, mopping before dusting means grit gets scattered onto clean floors. Third, product confusion leads to overbuying and underperforming: using a one-size-fits-all product everywhere is convenient, but pH and soil type matter; the wrong cleaner takes longer and can even damage finishes. And it adds up.
The fix is a simple, repeatable system that pairs weekly “deep-light” cleaning with quick daily resets. A good system follows physics: top-to-bottom, dry-to-wet, clean-to-dirty, and front-to-back. Tools are chosen to multiply your effort (microfiber, HEPA filtration, squeegees), and tasks are bundled logically so you don’t double back. When the method is predictable and short, you’ll actually use it—and the house stays clean longer because you’re controlling the inputs (shoes, dust, humidity) and the process (sequence, dwell time, frequency).
Here’s what you’ll notice when a system clicks: floors stay cleaner a full week, bathroom glass doesn’t spot as quickly, the kitchen looks “reset” every night in under 10 minutes, and you stop re-buying products you rarely use. That’s not magic; it’s compounding wins. Think of this guide as your playbook: understand the problems, then apply the exact weekly plan, room techniques, tools, and daily habits that keep your home effortlessly spotless.
The weekly method: a repeatable, room-by-room plan
Here’s a weekly plan that works for apartments and houses alike, designed to finish in 60–120 minutes depending on size. Batch by task and flow top-to-bottom, dry-to-wet. Do it once per week; in busy seasons, split it across two days.
1) Prep and protect. Open windows if weather allows, wear gloves for chemicals, and set a 60–90 minute playlist. Clear visible clutter into a bin so surfaces are wipe-ready. Shake entry mats outdoors to capture grit at the source. Start laundry (towels or linens) so a cycle finishes while you clean.
2) Dry tasks first. Dust high to low using an extendable duster for fans, vents, tops of frames, and shelves. Switch to a slightly damp microfiber for flat surfaces to capture fine dust. Vacuum thoroughly with a HEPA-filter vacuum, moving from bedrooms and living areas toward the kitchen and then bathrooms. Use crevice tools along baseboards where dust hides.
3) Wet tasks next. In bathrooms, spray cleaner on shower walls, glass, and sinks first to allow dwell time; then clean the toilet (rim outward) and finish with floors. In the kitchen, degrease the stove, wipe cabinet fronts, clean the sink, and finish with counters. Mop hard floors last, leaving an exit path so they can dry without footprints.
4) Finishing touches. Replace trash liners, swap hand towels, reset pillows and throws, and run a final glance for smudges on mirrors or handles. Laundry should be moved to dry, or hung if air-drying suits your fabrics and climate.
Microfiber cloths trap fine particles better than cotton and can reduce the amount of chemical needed. A HEPA vacuum reduces recirculated dust and allergens, helping surfaces stay clean longer. Always follow product labels for disinfectants and allow proper dwell time if sanitizing is the goal. Below is a quick look at time-saving gains when you switch to “optimized” tools and order.
| Task | Common approach (min) | Optimized method (min) | Time saved | Why it works |
|---|---|---|---|---|
| Dusting entire home | 25 | 15 | 10 | Extendable duster + damp microfiber captures more in one pass |
| Vacuuming | 30 | 20 | 10 | HEPA vacuum with proper attachments reduces repeat passes |
| Bathroom (1 full bath) | 30 | 22 | 8 | Spray first for dwell time; squeegee glass; acid cleaner for limescale |
| Kitchen surfaces | 25 | 18 | 7 | Degrease hot zones first; two-cloth method prevents re-spread |
| Mopping | 20 | 12 | 8 | Microfiber flat mop; S-pattern; correct dilution; no over-wetting |
Tip from experience: set a timer per zone (e.g., 12 minutes per bathroom). The deadline keeps you focused on high-impact actions. If you fall behind, skip decorative extras and hit health-critical points: food prep surfaces, bathroom touch points, and floors.
For disinfecting guidance and safe product lists, see the CDC’s cleaning and disinfecting page at cdc.gov and the EPA’s List N for products that meet virus-kill criteria at epa.gov.
Pro techniques for every room and surface
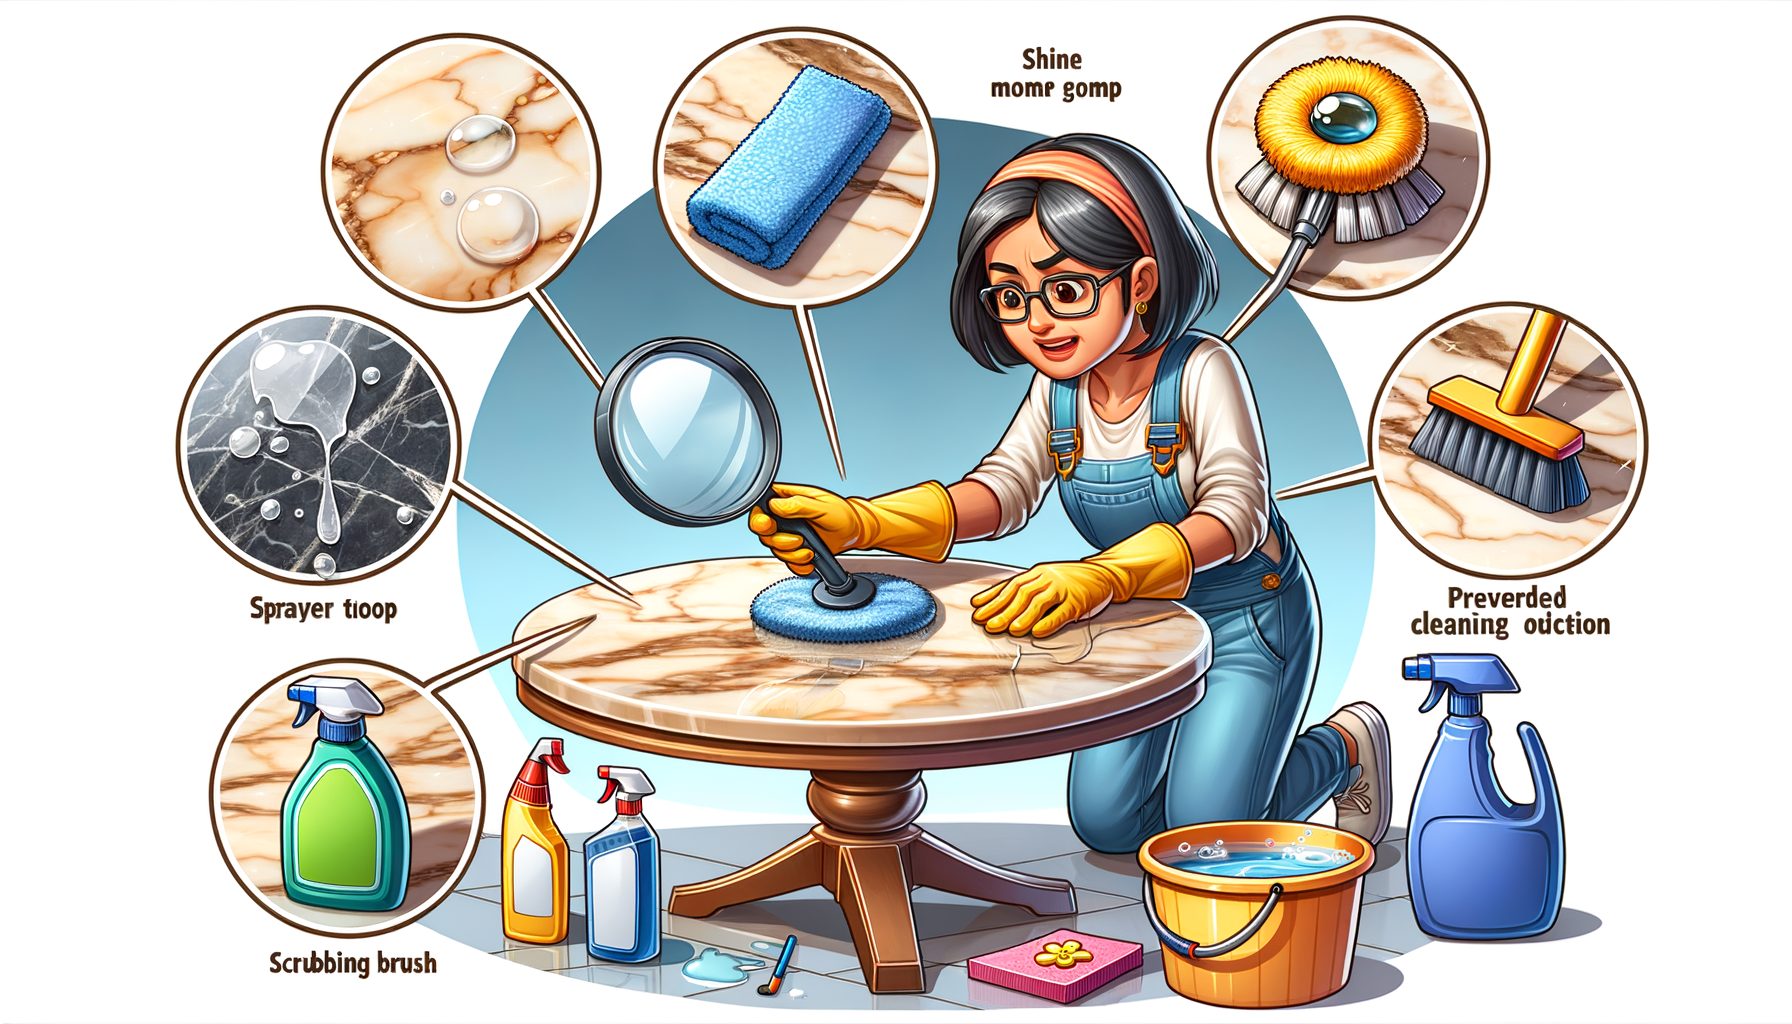
Kitchen. Heat helps remove grease. If safe for your surface, run a warm stove for 1–2 minutes before turning it off and applying a degreaser to grates and backsplashes. Let it dwell for 2–5 minutes, then wipe with a microfiber cloth, flipping to clean quadrants as they load up. For stainless steel, clean with a mild dish soap solution, then follow the grain with a slightly oiled cloth (two drops of mineral oil) to resist fingerprints. On stone counters (granite, marble), use pH-neutral cleaners; avoid vinegar, lemon, or bleach, which can etch or dull. Sanitize cutting boards with hot, soapy water; periodically apply a diluted bleach solution on plastic boards per label and rinse thoroughly. Keep sink drains clear with hot water and a small amount of dish soap; for odors, flush with boiling water followed by a sprinkle of baking soda and a rinse—avoid mixing with chlorine bleach.
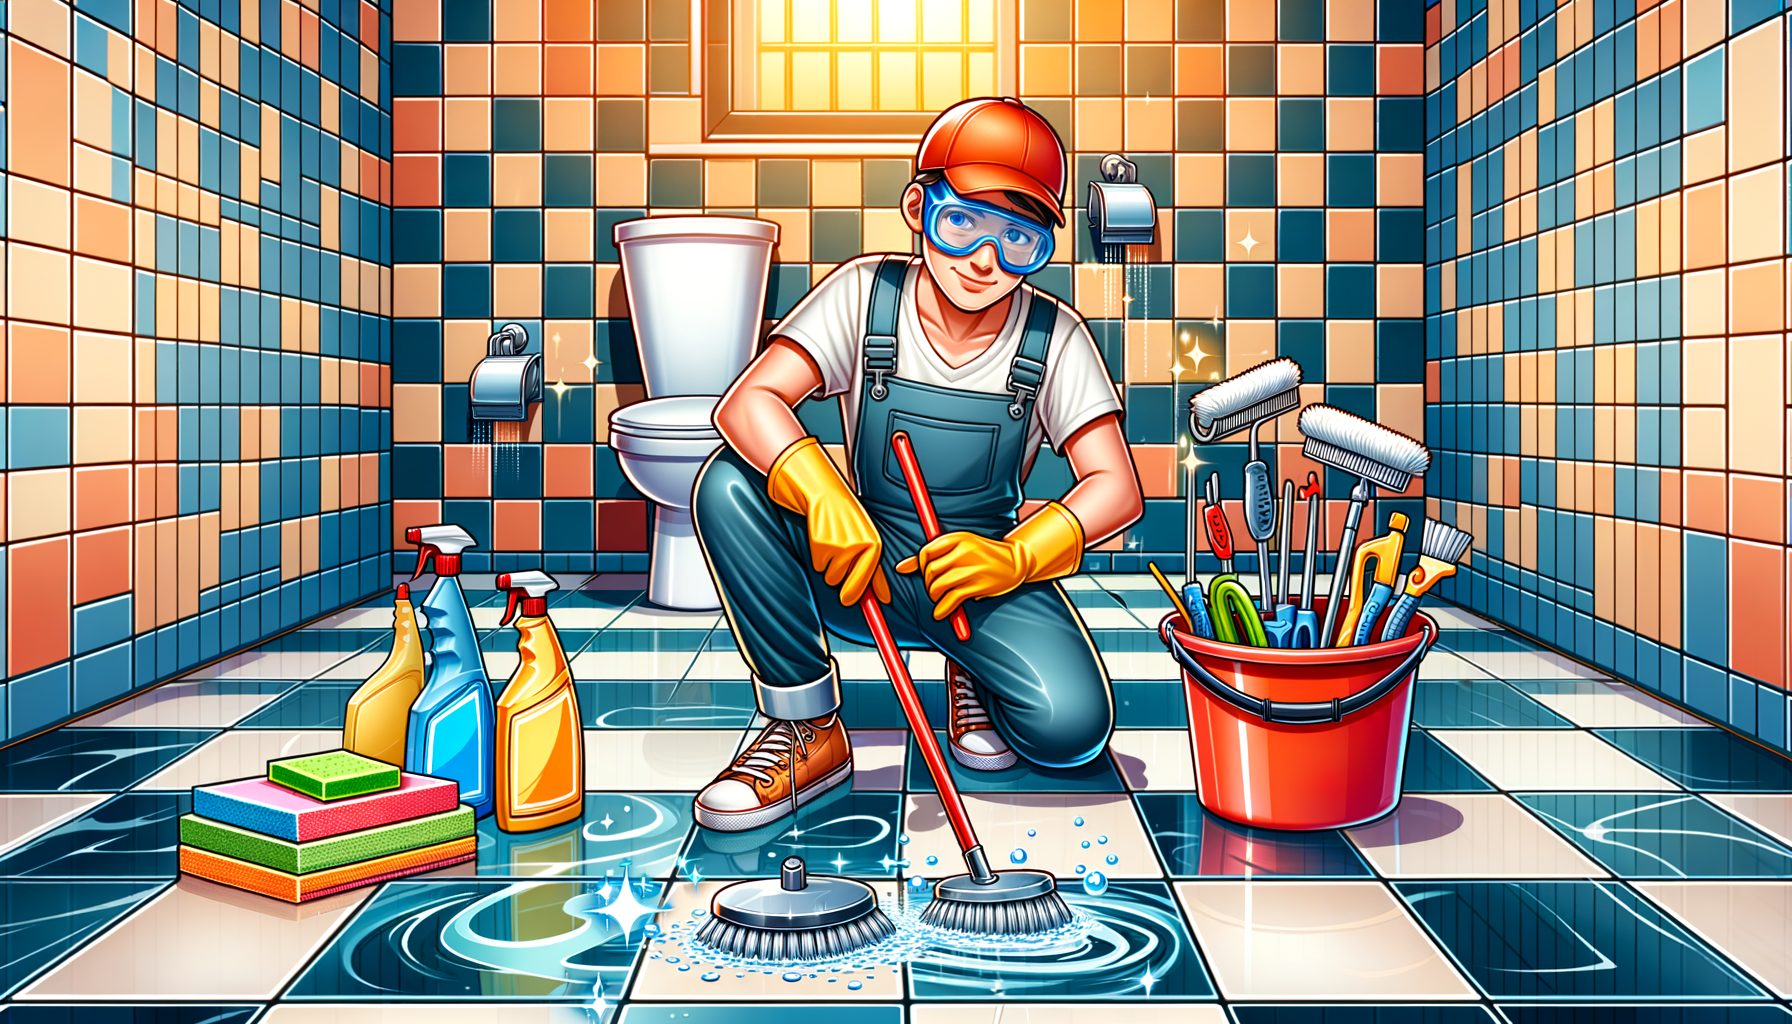
Bathroom. Limescale needs acidic cleaners (citric acid solutions work well). Soap scum responds to alkaline cleaners (ammonia-based or specific bathroom cleaners; never mix with bleach). Work in this order: mirrors, counters, shower walls and glass, fixtures, toilet (separate tools), then floors. For shower glass, a daily 30-second squeegee prevents mineral buildup, saving you 15–20 minutes on weekends. Grout benefits from oxygen bleach (sodium percarbonate) mixed per package; apply, dwell 10–15 minutes, scrub gently, and rinse. Ventilation should be improved to reduce humidity and mold growth.
Floors. Vacuum before mopping; grit scratches finishes. For sealed hardwood, use a damp (not wet) microfiber mop and a wood-safe cleaner; standing water can cause cupping. For tile, use a neutral cleaner unless tackling limescale in bathrooms, in which case spot-treat with acidic cleaner on tile only, avoiding natural stone. For carpets, slow passes matter more than pressure—move at about 1 foot per second. Empty the vacuum canister when it’s half full to maintain suction.
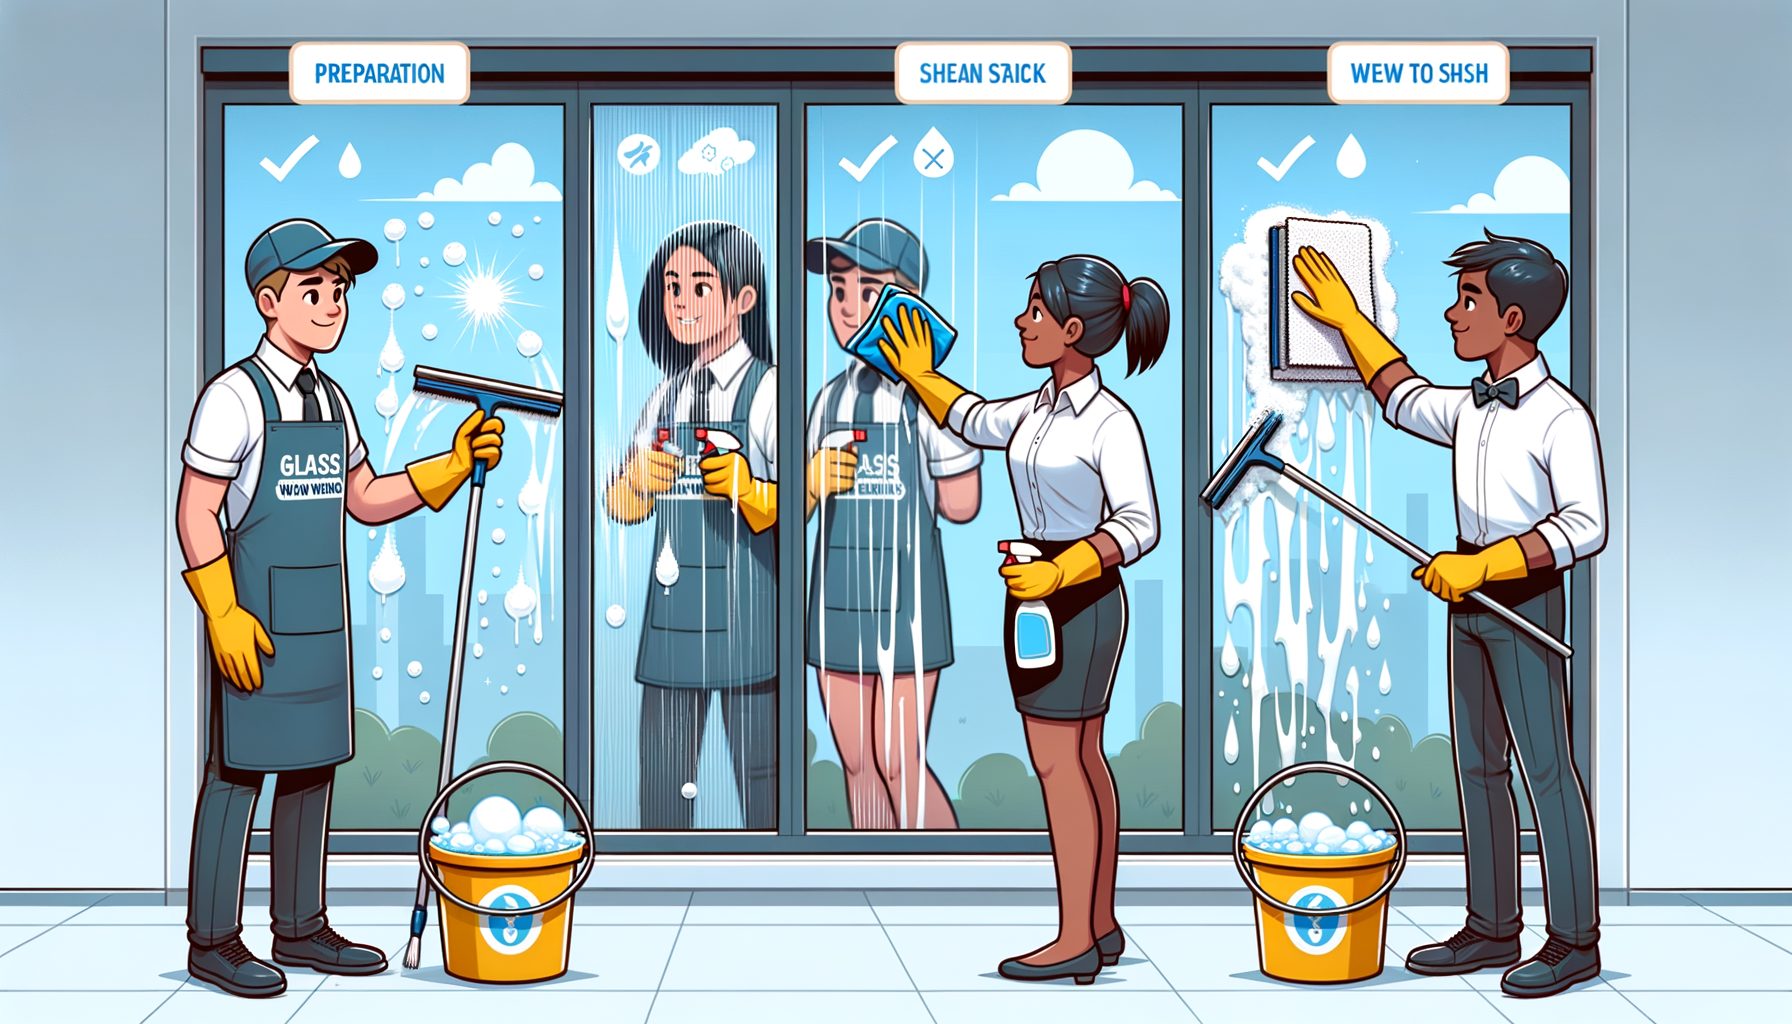
Dusting and glass. Feather dusters scatter; microfiber grabs. Fold the cloth into quarters so you get eight clean sides; switch sides often. For screens and high-gloss surfaces, use a barely damp cloth followed by a dry buff. Clean windows with a squeegee: scrub with a strip washer, then pull the squeegee in overlapping strokes, wiping the blade after each pass. That approach leaves fewer streaks than paper towels and costs less long-term.
Laundry and fabrics. Wash sheets weekly (warmer climates or heavy sweaters may prefer twice weekly in peak summer). Towels stay fresher if you hang them fully open; wash every three uses. Oxygen bleach can be used for whitening and stain lifting; chlorine bleach should be avoided on protein stains (blood) as it can set them. For stains, remember R.A.C.E.: Rinse (cold), Apply stain remover, Check before drying, Examine in daylight. Drying sets stains; if you still see a mark, repeat treatment before heat.
Safety note. Never mix bleach with ammonia or acids (like vinegar). Always read labels, test in an inconspicuous spot, ventilate, and wear gloves. For health-focused disinfection, clean dirt first, then apply a disinfectant appropriate for your surface and allow full contact time per the label. What’s interesting too, WHO guidance on environmental cleaning provides more detail at who.int.
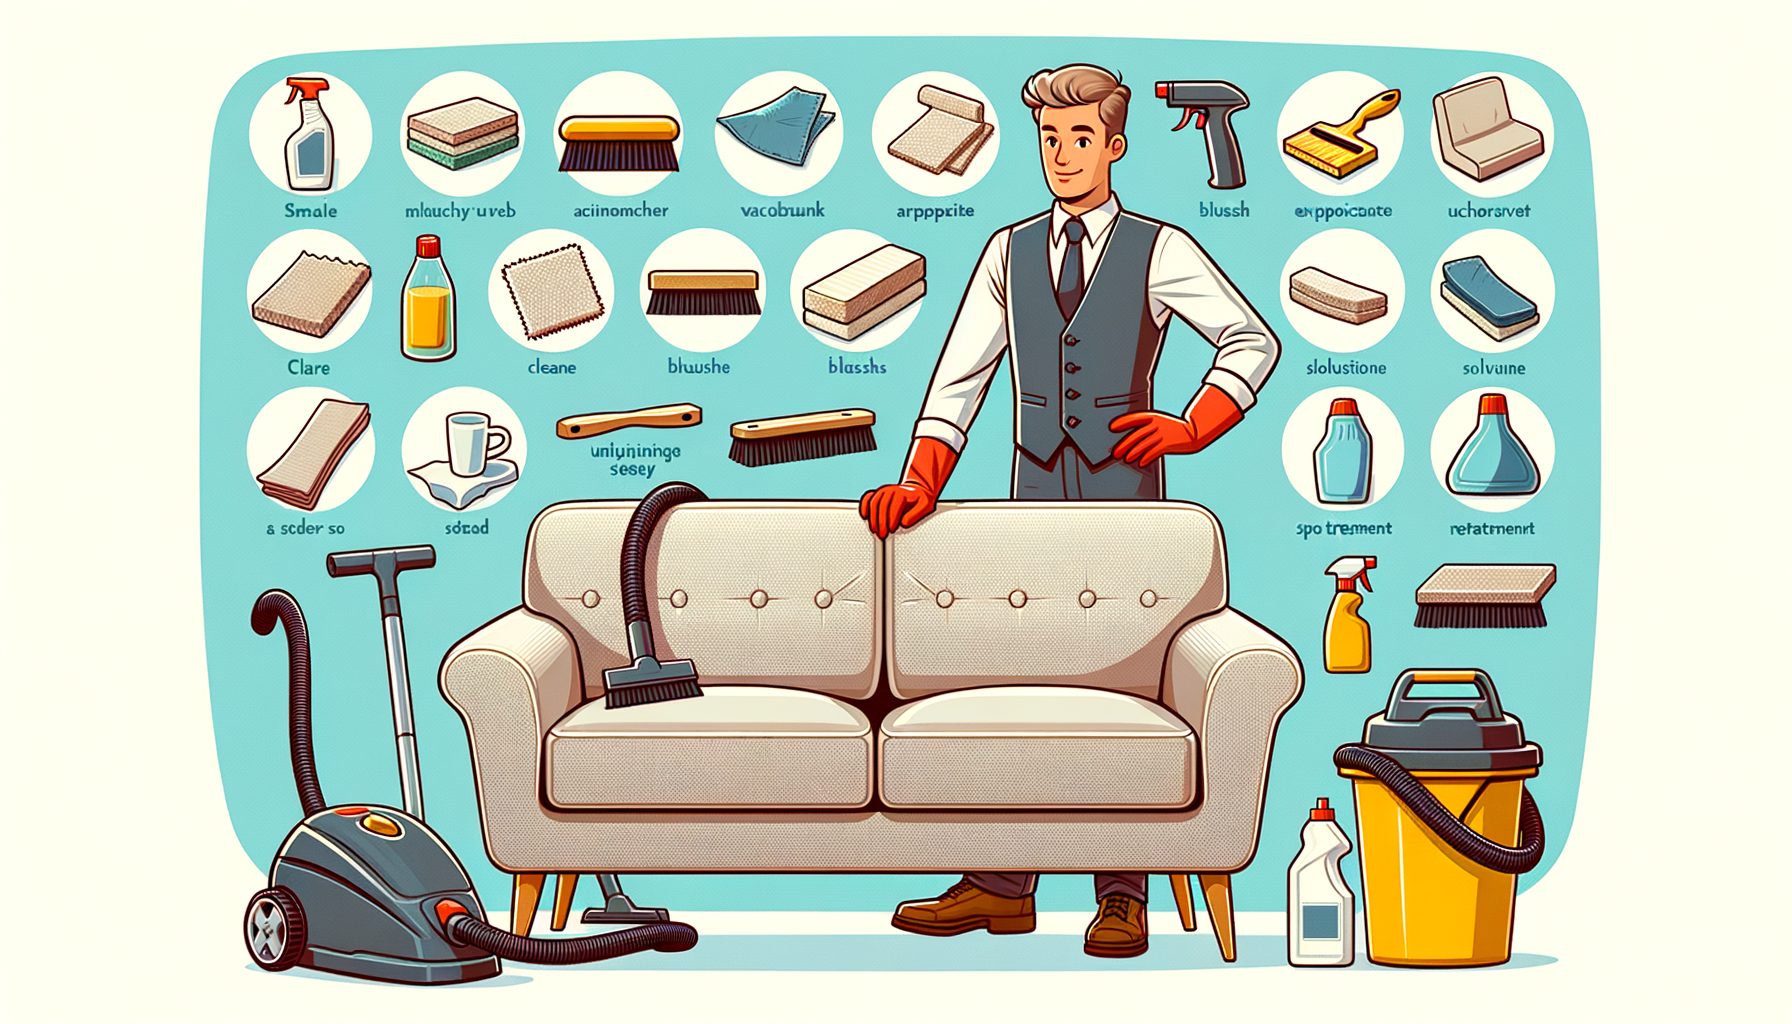
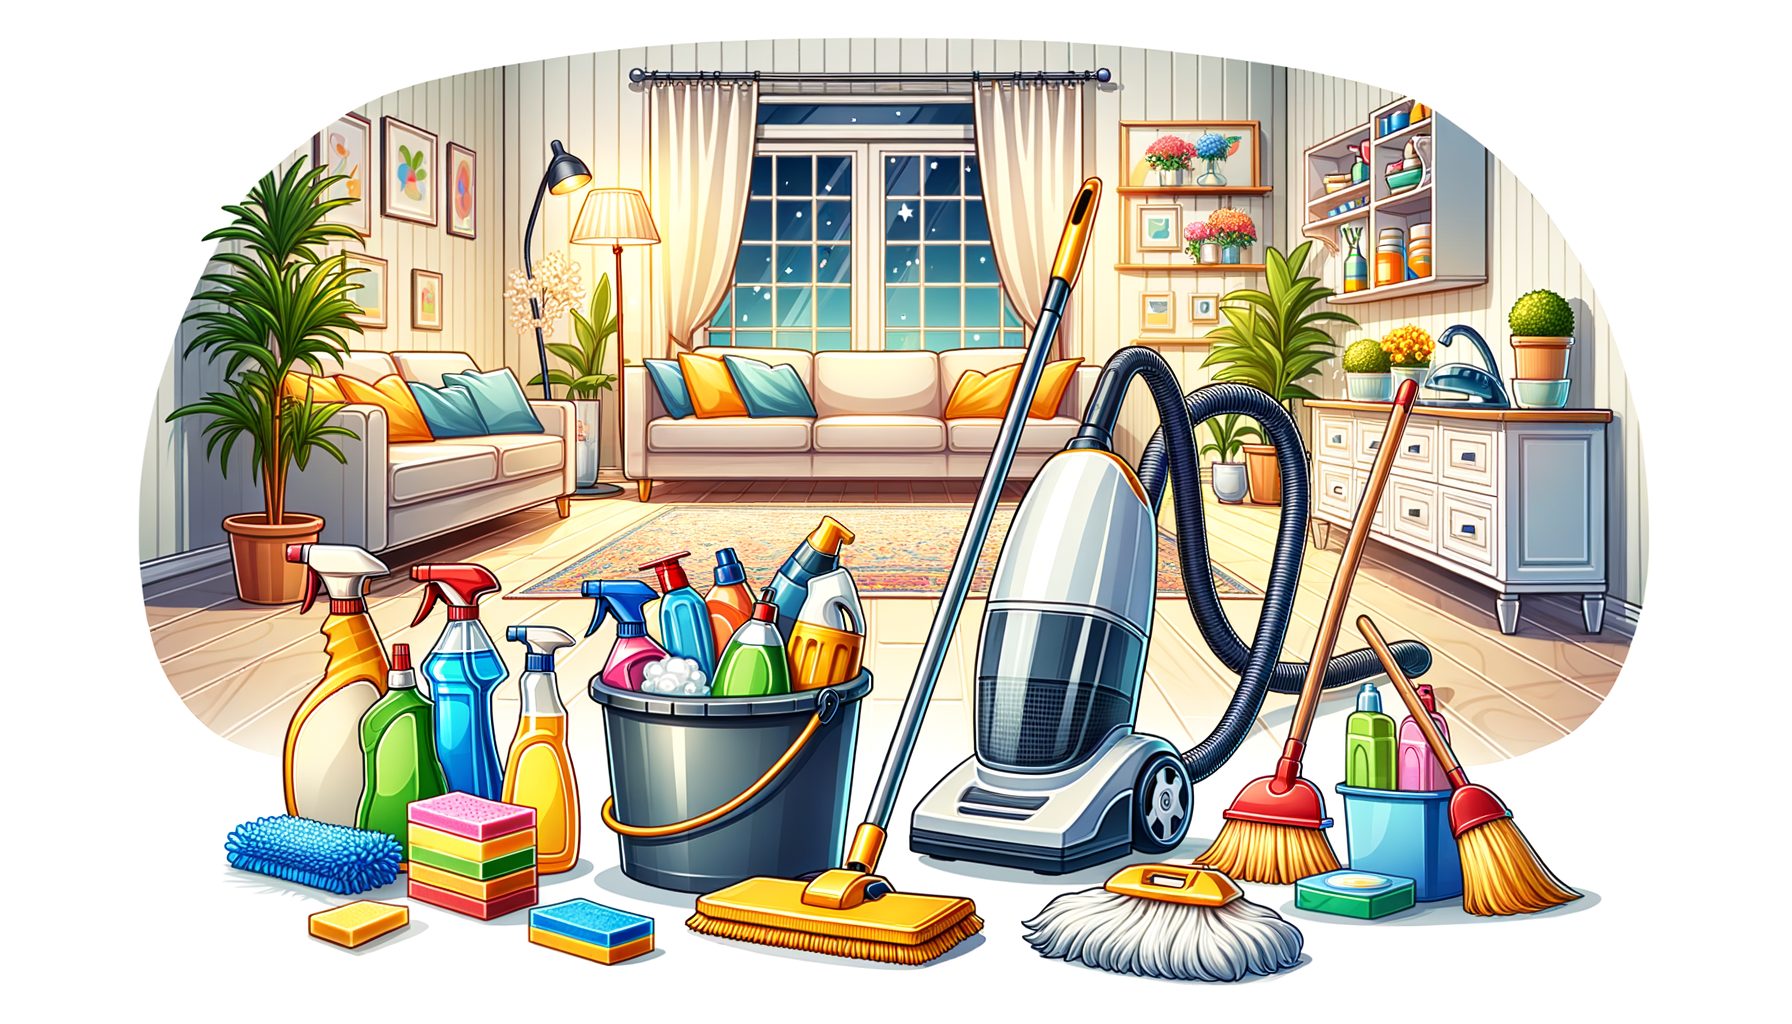
Gear and safe products: build a minimal, powerful kit
You don’t need a closet of chemicals; you need a compact kit you can carry room to room. Start with: (1) HEPA vacuum with crevice and upholstery tools, (2) 12–16 microfiber cloths in different colors for task separation (kitchen, bath, glass), (3) flat microfiber mop with washable pads, (4) extendable duster, (5) non-scratch scrub pads and a small brush set, (6) squeegee and strip washer for glass, (7) two labeled spray bottles, (8) a neutral all-purpose cleaner, (9) a degreaser, (10) a bathroom limescale remover (acidic), (11) oxygen bleach for laundry and grout, (12) dish soap, (13) white vinegar for select jobs like glass and deodorizing (avoid on stone), and (14) an EPA List N disinfectant for targeted use. Add nitrile gloves and a caddy to keep it all mobile.
DIY formulas can be effective and economical when used correctly. For glass and mirrors, mix 1 part white vinegar with 3 parts distilled water, plus a drop of dish soap to cut film. For an all-purpose spray on sealed surfaces, combine warm water with a small amount of dish soap (a few drops per liter) for light soil; rinse or wipe with a damp cloth to remove residue. For limescale, dissolve 1 tablespoon of citric acid in 1 cup of warm water, apply, dwell several minutes, then rinse thoroughly—do not use on natural stone. For grout or laundry brightening, oxygen bleach mixed per label lifts organic stains. Well, here it is: never mix vinegar or acids with bleach or peroxide; keep recipes simple and clearly labeled.
Why this kit works: microfiber increases particle capture while reducing chemical use; HEPA filtration traps fine dust rather than blowing it around; a squeegee eliminates streaks fast; color-coded cloths prevent cross-contamination. You’ll also save money—reusable textiles last for hundreds of washes, and concentrated products reduce plastic and storage needs.
Storage and safety. Keep all chemicals out of reach of children and pets, ideally in a ventilated cabinet. Store acids and alkalis separately from bleach. Maintain a simple label on every bottle with product name, dilution, and date mixed. Consult Safety Data Sheets (SDS) provided by manufacturers for handling and first-aid instructions. Then this: if you want deeper product transparency or third-party certifications, look for Green Seal or ECOLOGO listings, and review EPA Safer Choice at epa.gov/saferchoice.
Daily habits and automation to keep it spotless without burnout
Daily habits are the difference between a home that looks “lived-in clean” and one that needs a reset every few days. The goal is micro-moves that add up to macro-clean. Start with the two-minute rule: if a task takes less than two minutes (wipe the vanity, unload the dish rack, clear the coffee table), do it immediately. Add a 10-minute nightly reset: set a timer, put on a playlist, and blitz the hotspots—dishes, counters, coffee table, and floors where crumbs collect. Because you focus on the same micro-zones nightly, the weekly clean becomes a breeze.
Create “capture points” to stop dirt at the door. Place a sturdy doormat outside and a washable runner inside the entry. Add a shoe rack and a small bench so removing shoes is easy. Just that single change drastically reduces grit and mopping time. Keep a mini-caddy under each bathroom sink with a glass cloth, all-purpose cleaner, and a toilet brush to enable 90-second maintenance wipes midweek.
Automate what you can. A robot vacuum scheduled for midday can keep crumbs under control, especially in homes with pets or kids; empty and clean its brush weekly. A dehumidifier should be run in damp climates to slow mold and musty smells; aim for 40–50% relative humidity. Use an air purifier with a true HEPA filter in living areas to reduce airborne dust; check the EPA’s guidance on residential air cleaners at epa.gov. Launder smaller, more frequent loads to avoid laundry mountains; a daily quick load prevents weekend pileups.
Make it motivating. Timebox with a visible timer, track streaks on a calendar, or partner with a roommate or family member and assign zones (one handles dry tasks, the other wet). Keep tools visible but tidy: a slim caddy lives under the sink, microfiber stacks in a drawer, vacuum on a charging dock ready to go. From experience, pairing a specific playlist with your weekly clean turns it into a short routine you almost look forward to. When the last song ends, you’re done—and your space feels new again.
Q&A: fast answers to common cleaning questions
Q: How often should I do a full clean? A: Aim for weekly. Dust and pollen settle quickly, kitchens accumulate grease with each cook, and bathrooms build mineral film with every shower. A weekly “deep-light” clean plus daily 10-minute resets keeps the cycle short and painless. In busy weeks, split tasks: dry tasks midweek, wet tasks on the weekend.
Q: Do I need to disinfect everything? A: No. Cleaning (removing dirt) is different from disinfecting (killing germs). For everyday living, clean surfaces with soap or an all-purpose cleaner. Disinfect high-touch areas during illness, after handling raw meat, or when the label and guidance indicate. Always allow the disinfectant’s full dwell time per the EPA List N product label for effectiveness.
Q: Are eco-friendly products strong enough? A: Many are. The key is matching product to soil and giving dwell time. Microfiber boosts any cleaner’s performance, often letting you use milder formulas. Check for certifications like EPA Safer Choice or Green Seal, and remember that technique (top-to-bottom, dry-to-wet, S-fold wiping) often matters more than the specific brand.
Q: Small apartment vs. large house—does the method change? A: The sequence doesn’t change, only the scope. In small spaces, combine zones (e.g., kitchen and living room as one pass) and a single mop pad may cover all floors. In larger homes, use multiple pads, empty the vacuum more often, and consider automations (robot vacuum, central doormat strategy) to handle the extra square footage.
Q: What’s the best order: dust, vacuum, or mop? A: Always dust first, vacuum second, mop last. This prevents grit and dust from landing on wet floors or freshly cleaned surfaces. In bathrooms and kitchens, spray cleaners first to let them dwell while you handle other tasks, then wipe, and finally mop your way out.
Conclusion: build your repeatable plan and enjoy a perpetually clean home
Here’s the simple truth: a spotless home doesn’t require marathon cleaning sessions or a closet full of products. It requires a repeatable system and a few high-impact tools. You learned why homes rebound to messy so fast (constant inputs plus poor sequencing), and you now have a weekly method that moves from dry to wet and top to bottom. Plus, there are pro-level techniques for each room and surface—like using acidic cleaners for limescale, neutral cleaners for stone, and squeegees for streak-free glass. A lean kit saves money and space, and daily habits plus light automation keep everything fresh without burnout. Put together, these steps are more than tips; they’re a framework you can run on autopilot.
Starting today, pick one upgrade: set a 10-minute nightly reset, swap to microfiber, or schedule a robot vacuum. Then add the rest over the next two weeks. If your time is tight, batch tasks with a timer and concentrate on the highest-value surfaces: kitchen counters, bathroom touch points, and floors. Consistency beats intensity—every time. Save this guide, follow the sequence, and your home will stay guest-ready with far less effort.
If you found this helpful, take action now: build your mini caddy, print or save a weekly checklist, and set your first 60–90 minute cleaning session on your calendar. Share this with a friend or housemate and divide zones for even faster results. You’ll feel the difference in your focus, your air quality, and your mornings.
In the end, a clean home is a kind of quiet power—it reduces friction, clears mental space, and gives you back time. Ready to run this system for a week and see how much lighter life feels? Your future self will thank you.
Sources and helpful links:
– CDC: Cleaning and Disinfecting Guidelines — https://www.cdc.gov/flu/prevent/cleaning-disinfection.htm
– EPA: List N Disinfectants — https://www.epa.gov/pesticide-registration/list-n-disinfectants-coronavirus-covid-19
– EPA: Guide to Air Cleaners in the Home — https://www.epa.gov/indoor-air-quality-iaq/guide-air-cleaners-home
– WHO: Environmental Cleaning and Disinfection — https://www.who.int/publications/i/item/WHO-2019-nCoV-IPC-2020.4
– EPA Safer Choice Program — https://www.epa.gov/saferchoice