
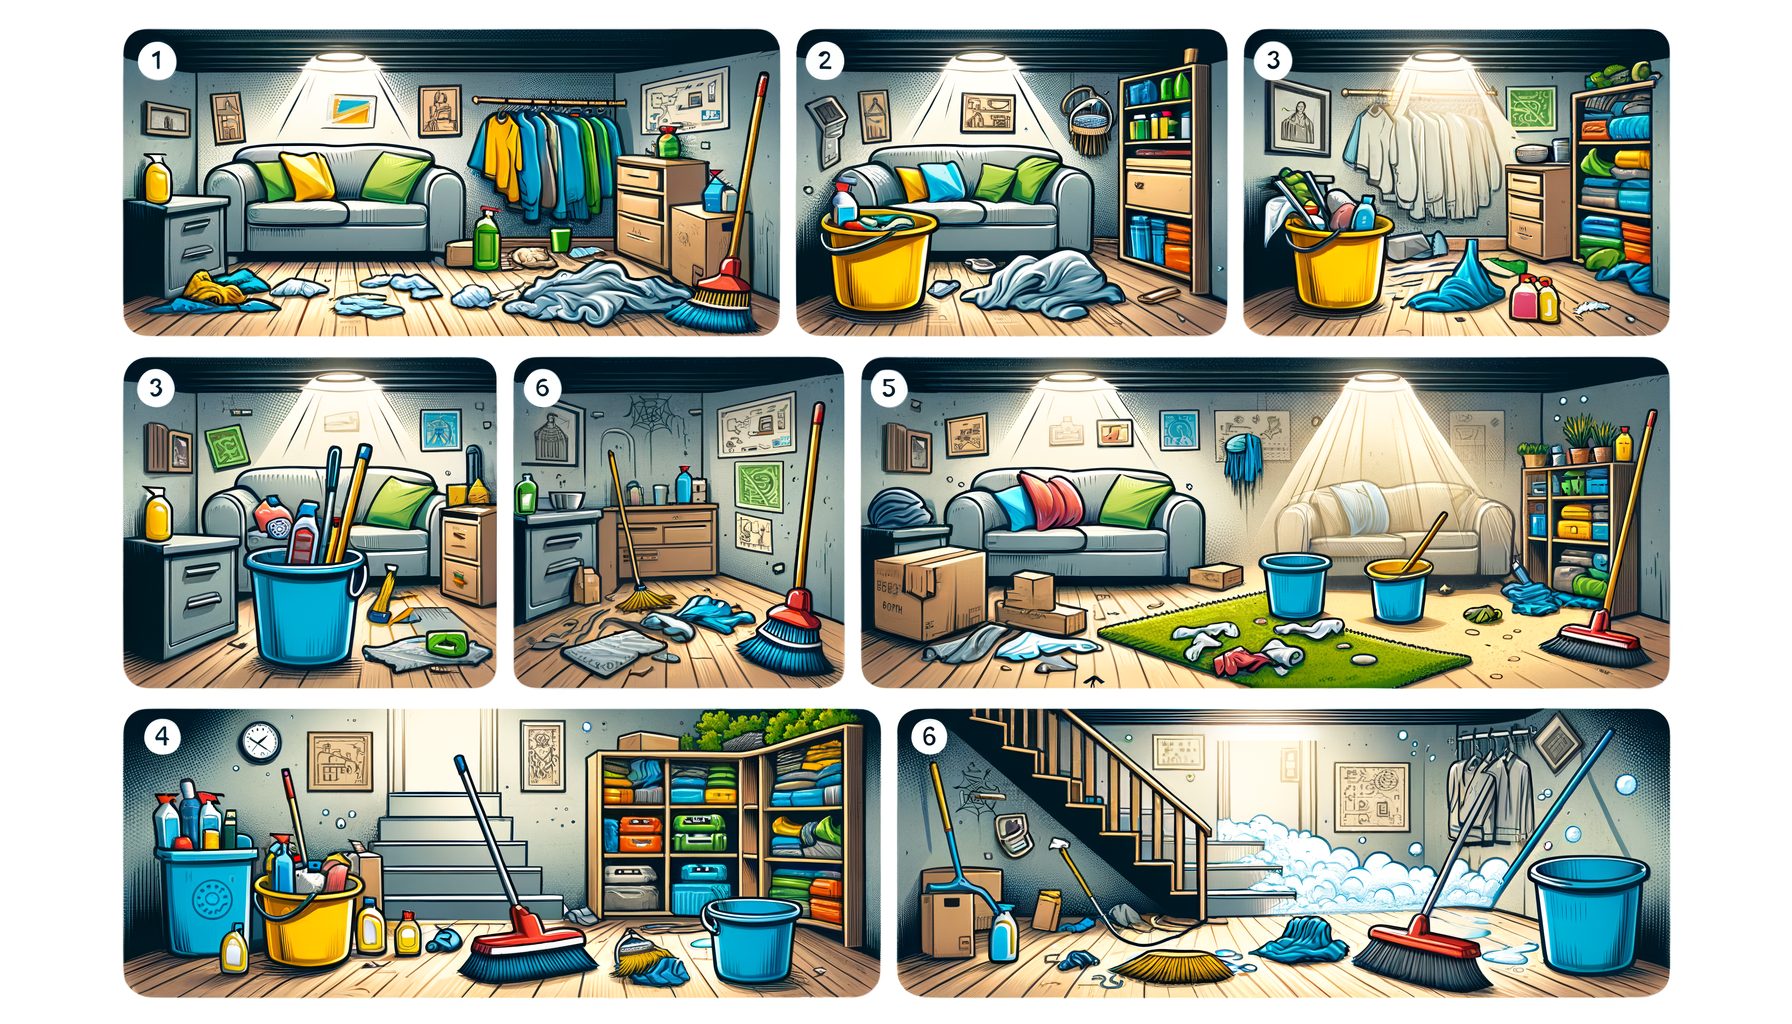
Does your basement feel like a maze of boxes, carry a musty tang, or soak your weekends in stress? You’re not alone. Clutter, dust, moisture, and sometimes mold tend to end up downstairs, out of sight. Here’s a step-by-step basement cleaning guide built to help you declutter and deep clean efficiently—even if you’ve been postponing it for months. In one place, you’ll learn how to map out the work, stay safe, sort and discard, scrub and sanitize, and keep your space fresh and organized for the long run. Think of it as a practical, easy-to-follow blueprint to transform a problem basement into a clean, usable zone—without wasting time or money.
Safety First: Assess Hazards, Ventilate, and Gear Up
Nothing derails a basement cleanup faster than skipping a safety plan. Basements can hide sharp objects, old chemicals, rodent droppings, and moisture-related hazards. Before lifting a single box, do a quick hazard scan. Look for standing water, damp walls, visible mold, frayed wires, tripping hazards, or chemical containers that are corroded or unlabeled. If water is present near outlets or electrical cords, shut off power to that area before proceeding. Open windows and doors, and set up a fan to move air outside if possible. Good airflow reduces dust and odors and helps protect you when cleaning solutions are in use.
Protective gear matters: wear sturdy gloves, closed-toe shoes, safety glasses, and a dust mask or respirator (use appropriate filters if you expect heavy dust or mold). Long sleeves and pants are recommended to protect skin. If you encounter extensive mold (often defined as more than about 10 square feet) or severe water damage, pause and consider professional help. Reputable guidance on cleanup and personal protective equipment is available from organizations like the CDC and EPA. For mold cleanup tips and when to seek pros, see the CDC’s mold cleanup page (https://www.cdc.gov/mold/cleanup.htm) and the EPA’s mold resources (https://www.epa.gov/mold). For general PPE guidance, consult OSHA (https://www.osha.gov/personal-protective-equipment).
Set a staging zone near the basement entrance where you can place items as you sort. Keep a first-aid kit nearby and a heavy-duty trash bag for sharp or unsafe debris. If you suspect asbestos, lead paint, or chemical spills, stop and contact local authorities or a licensed contractor for testing and safe removal. Never mix cleaning chemicals—especially bleach and ammonia—as the fumes can be extremely dangerous. Always read product labels for correct dilution and ventilation needs. When in doubt about a substance, err on the side of caution and research or call a professional. A careful start saves time and keeps the rest of your project safe and smooth.
Declutter Strategically: Sorting System, Donations, Recycling, and Disposal
Decluttering is where momentum begins. Work by zone—pick one corner or a single shelving unit and finish it before moving on. Sort into four piles: Keep, Donate/Sell, Recycle, and Trash. Place each category in distinct spots within your staging area so choices stay clear. Touch every item once. Broken beyond repair, outdated, or rarely used? It likely needs to go. If you haven’t used something in a year and it’s not seasonal or sentimental, be honest about whether it deserves shelf space.
Decide faster with simple rules. For example: limit sentimental items to one box per family member; keep only tools used within the last 12 months; set a cap for seasonal decor. For clothing or sports gear, try the “fit, function, frequency” test. If it doesn’t fit your life anymore, someone else could benefit. Schedule a donation pickup or drop-off before you start to prevent new piles from forming. Organizations like Goodwill (https://www.goodwill.org) and Habitat for Humanity ReStore (https://www.habitat.org/restores) accept many household items; check their websites for accepted goods and local locations.
Do the right thing with specialty waste. Old paint, solvents, pesticides, and electronics should not go in the regular trash. Look up your municipality’s hazardous waste drop-off schedule or use a recycling directory like Earth911 (https://earth911.com) to find nearby options. For paper clutter, scan important documents, then shred and recycle what you don’t need physically. Consider selling valuable items online, but set a deadline—if it doesn’t sell within two weeks, donate it so it doesn’t boomerang back into clutter.
Keep energy high by time-boxing your sessions: 45–60 minutes on, 10–15 minutes off. Play upbeat music and take “before” photos to track progress. Label boxes clearly with both category and contents (“Camping—Kitchen Gear,” “Holiday—Lights & Cords”), and write the date. When you finish a zone, sweep or vacuum that patch to lock in the win and prevent dust from resettling on newly organized shelves. By the time you wrap the last zone, you’ll already have reclaimed usable space and set the stage for an effective deep clean.
Deep Clean Basement Surfaces: Dust, Vacuum, Wash, Disinfect, Deodorize
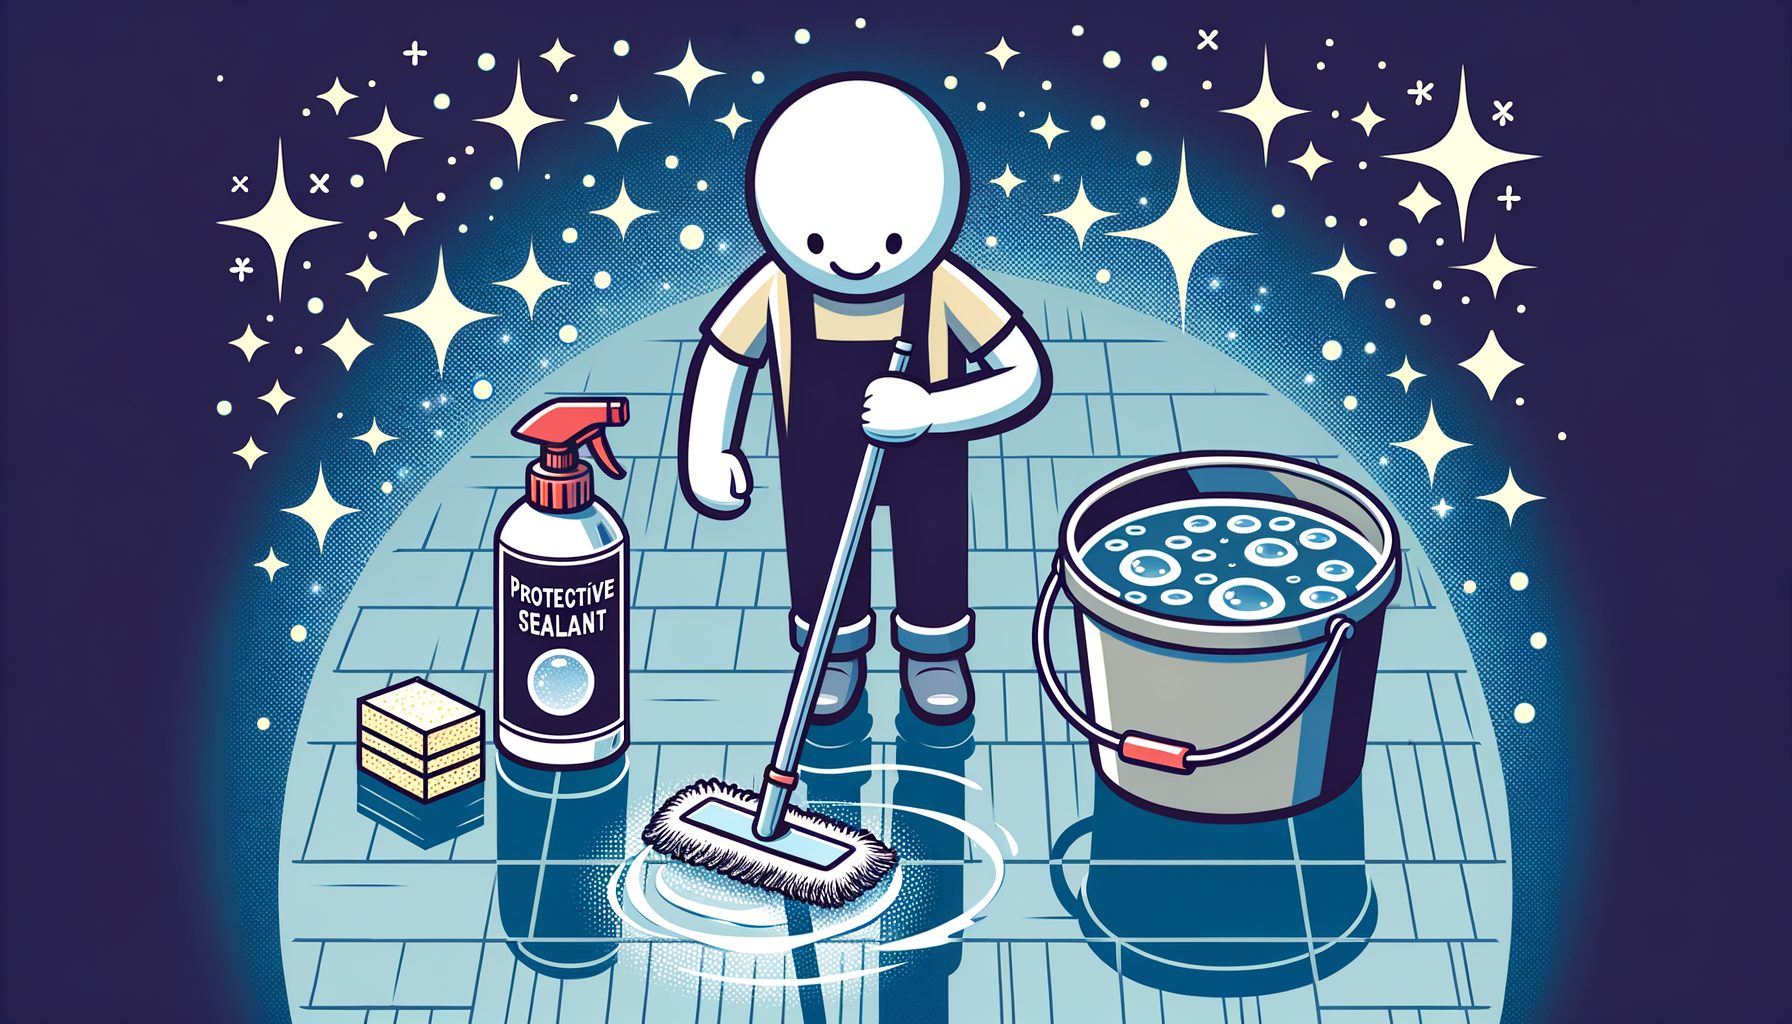
Once clutter is under control, move on to a top-to-bottom clean. Start with cobwebs and ceiling dust. A microfiber duster or a vacuum with a brush attachment works well for joists, light fixtures, and duct exteriors. Move down the walls, shelving, and storage bins. A HEPA-filter vacuum helps capture fine dust and allergens. Wipe horizontal surfaces with a mild detergent solution and warm water; rinse and dry to prevent residue. If cardboard has absorbed odors, swap it for plastic bins after cleaning.
Floors deserve extra attention. On concrete, vacuum thoroughly, then wet mop with a neutral pH cleaner. If white, powdery deposits (efflorescence) appear, scrub with a stiff brush and a cleaner made for mineral deposits; ventilation and moisture control should be improved to prevent a return. For tile or vinyl, vacuum first, then mop per manufacturer guidance. When a musty smell lingers, track down and fix moisture sources rather than masking with fragrance. Surfaces should be dried completely—fans and dehumidifiers speed drying and discourage mold.
Small patches of mold on nonporous surfaces can be cleaned with detergent and water, thoroughly dried, and followed by better airflow. For porous materials like drywall or insulation that are moldy or water-damaged, removal and replacement are often required. Extensive mold or flood contamination may call for professional remediation. Never mix bleach with ammonia or acids. If you choose to disinfect after cleaning, follow product labels exactly and ventilate. For flood cleanup guidance, the American Red Cross provides helpful steps (https://www.redcross.org/get-help/how-to-prepare-for-emergencies/types-of-emergencies/flood.html), and the CDC shares best practices for post-flood sanitation (https://www.cdc.gov/mold/cleanup.htm).
Well, here it is—a quick-reference table to match surfaces with recommended tools and routines. Treat it as a baseline; adjust for your home’s materials and local climate.
| Surface/Item | Best Tool | Cleaner | Key Tip | Routine |
|---|---|---|---|---|
| Ceiling joists/vents | HEPA vacuum + brush | Dry dust or mild detergent | Work top-down to avoid re-dusting | Quarterly |
| Walls/shelves | Microfiber cloth | Mild detergent, rinse, dry | Test in a small area first | Quarterly |
| Concrete floors | Vacuum + mop | Neutral pH cleaner | Address efflorescence at the source | Monthly |
| Storage bins | Cloth + brush | Warm soapy water | Dry lids fully to prevent odor | Semiannually |
| Drains/sump area | Shop vac + brush | Manufacturer-approved cleaner | Keep debris out of drain grates | Seasonally |
Finish by deodorizing through source control: keep the space at 30–50% relative humidity, fix leaks, and store absorbent items off the floor. If odors persist, inspect for hidden moisture behind walls or under rugs. Deep cleaning is less about strong scents and more about eliminating the causes of smells—dust, dampness, and grime.
Prevent Moisture and Clutter Comeback: Storage, Ventilation, and Maintenance
Clean once, maintain easily—that’s the goal. Moisture is the main enemy of a healthy basement, so aim for 30–50% relative humidity year-round. Track levels with a hygrometer and run a dehumidifier sized for your square footage. Drain it to a floor drain or use a condensate pump so you’re not relying on manual emptying. Weather-seal basement windows, insulate cold-water pipes to reduce condensation, and ensure gutters and downspouts move rainwater at least a few feet away from the foundation. For more on indoor moisture basics, see the EPA’s guidance on mold and moisture (https://www.epa.gov/mold/mold-course-chapter-2).
Smart storage stops clutter from rebounding. Choose clear, airtight bins with tight lids and label on two sides plus the top. Keep items off the floor using metal or plastic shelving with adjustable heights. Store seldom-used and non-sensitive items higher up, and keep frequently used items at eye level. Avoid cardboard in damp climates; it absorbs moisture and can attract pests. Add silica gel packs or desiccants to bins with photos, fabrics, or tech accessories. If you store tools or sports gear, mount wall racks to clear floor space. For cables and small parts, use small, labeled containers inside larger bins to keep categories neat and easy to find.
Build a simple maintenance rhythm. Do a 10-minute scan weekly to return items to their zones. Once a month, vacuum high-dust areas and check your dehumidifier filter or prefilter. Seasonally, test your sump pump, check for cracks or seepage, and inspect window wells. If your area has high radon potential, consider a radon test kit and mitigation if results are elevated; the EPA offers guidance on testing and mitigation (https://www.epa.gov/radon). Keep a “donation box” permanently stationed on a shelf—when it’s full, schedule a drop-off. That tiny habit prevents the slow creep of clutter and keeps your basement feeling curated rather than crowded.
Finally, set reminders for re-evaluation after life changes: moving, new hobbies, or a growing family. The basement can adapt with you if you make small, frequent adjustments instead of waiting for a once-a-year overhaul.
Smart Timeline, Budget, and Tools Checklist
A realistic timeline and lean budget make the project doable. Most basements can be transformed over a weekend if you break the work into phases. Day 1: safety scan and decluttering. Day 2: deep cleaning, drying, and setup of storage and dehumidification. If your basement is large or heavily cluttered, add a third day for specialized tasks like minor repairs or organizing complex categories (e.g., hobby inventory).
Budget ranges vary by location and starting condition, but here’s a practical estimate. Basic supplies (gloves, masks, bags, microfiber cloths, detergent, labels) may cost $30–$80. A decent dehumidifier can range from $150–$300, while sturdy shelving units typically run $40–$120 each. Clear storage bins average $8–$20 per bin depending on size and brand. If you rent a HEPA shop vacuum or air mover, budget $20–$40 per day. Keeping costs down is about prioritizing: tackle moisture control first, then durable storage you won’t need to replace.
For tools, think in three categories. Safety: gloves, safety glasses, dust masks/respirator, closed-toe shoes, first-aid kit. Sorting: permanent markers, painter’s tape or labels, boxes or bins for each category, a folding table for staging. Cleaning: HEPA vacuum, microfiber cloths, bucket, mop, neutral pH cleaner, soft brush, stiff brush for concrete, and fans or a dehumidifier for drying. Optional but helpful: headlamp for dim corners, moisture meter to detect damp spots, and sealable bags for small hardware and cables.
Time-saving tip: pre-book donation pickup and hazardous waste drop-off before your cleaning weekend. It forces completion and frees space immediately. Another efficiency hack is to group “like with like” for speed: clean all shelves in one pass, then do all floors, then handle odors—batching reduces context switching. If you share the space with family or roommates, assign roles: one person sorts, another cleans, a third handles hauling and labeling. Focused roles reduce friction and keep everyone productive.
FAQs: Basement Decluttering and Deep Cleaning
Q: How do I know if the smell is mold or just “old basement” odor?
A: Musty odors often indicate moisture. Check humidity with a hygrometer and look for damp spots, discoloration, or fuzzy growth. If you can’t locate a source, run a dehumidifier and improve airflow for a week, then reassess. Persistent odor usually means hidden dampness behind walls, under flooring, or in stored textiles. When in doubt, consult a professional, especially if you have respiratory symptoms.
Q: Should I use bleach to clean mold?
A: For small, nonporous surfaces, cleaning with detergent and water is often effective. Disinfecting may be recommended after certain events like flooding; follow product labels and local guidance. Never mix bleach with ammonia or acids, and ventilate well. For extensive mold or porous materials that are contaminated, seek professional help. See the CDC’s mold cleanup advice: https://www.cdc.gov/mold/cleanup.htm.
Q: How can I keep my basement dry in a humid climate?
A: Use a dehumidifier sized for your space, set to maintain 30–50% relative humidity. Seal air leaks, insulate cold pipes, and keep gutters and downspouts moving water away from your foundation. Store items off the floor and avoid cardboard. If humidity spikes seasonally, run the dehumidifier continuously during peak months and clean its filter regularly.
Q: What’s the best way to store long-term keepsakes?
A: Use airtight, clear plastic bins with desiccant packs. Label bins on multiple sides and include an inventory sheet in a top loader. Store them on shelves, not on the floor, and keep them away from exterior walls if those areas get cooler or damp. For photos and documents, consider acid-free folders or boxes designed for archival storage.
Q: Is it worth renting professional equipment?
A: If you’re dealing with heavy dust, lingering odors, or post-flood drying, renting a HEPA shop vac, air scrubber, or air mover can speed results. Rentals are cost-effective if used intensively over a short period. Prioritize moisture control gear first; drying the space quickly prevents secondary damage and future cleaning headaches.
Conclusion: Your Clean Basement Starts Now
You’ve learned how to approach your basement with a clear plan: start safe, declutter decisively, deep clean methodically, then lock in long-term freshness with smart storage and moisture control. By breaking the work into zones and focusing on the highest-impact steps—safety check, sorting system, top-to-bottom cleaning, and humidity management—you’ll transform a stressful, underused space into a clean, dependable part of your home. The key message is simple: small, organized actions win over big, sporadic efforts. When you align your tools, timeline, and habits, the basement stops being a burden and becomes an asset.
Now is the best time to act. Pick a weekend, set your categories, and book donation and recycling drop-offs today. Open the windows, gear up, and commit to finishing one defined zone at a time. As you clear each shelf and see the floor again, you’ll feel momentum kick in. Keep your setup simple: labeled bins, sturdy shelves, and a dehumidifier set to 30–50% RH. Maintain with quick weekly resets and seasonal checkups. If obstacles arise—like unexpected moisture or stubborn odor—use the linked resources to adjust your approach safely.
Imagine your basement a month from now: easy to navigate, fresh-smelling, and stocked with only what you value. That’s not a dream; it’s a plan you can execute in days. Bookmark this guide, share it with a friend who needs a push, and schedule your first 60-minute session right now. Your future self will thank you for every box you sort, every shelf you clean, and every habit you build. Ready to start the reset and reclaim your space? Let’s make your basement the calmest room in the house—what’s the first zone you’ll tackle today?
Sources:
– CDC: Mold Cleanup and Remediation — https://www.cdc.gov/mold/cleanup.htm
– EPA: Mold Resources and Moisture Basics — https://www.epa.gov/mold
– OSHA: Personal Protective Equipment — https://www.osha.gov/personal-protective-equipment
– American Red Cross: Flood Cleanup — https://www.redcross.org/get-help/how-to-prepare-for-emergencies/types-of-emergencies/flood.html
– EPA: Radon Information — https://www.epa.gov/radon
– Earth911: Recycling and Disposal Directory — https://earth911.com
– Habitat for Humanity ReStore — https://www.habitat.org/restores
– Goodwill Industries — https://www.goodwill.org